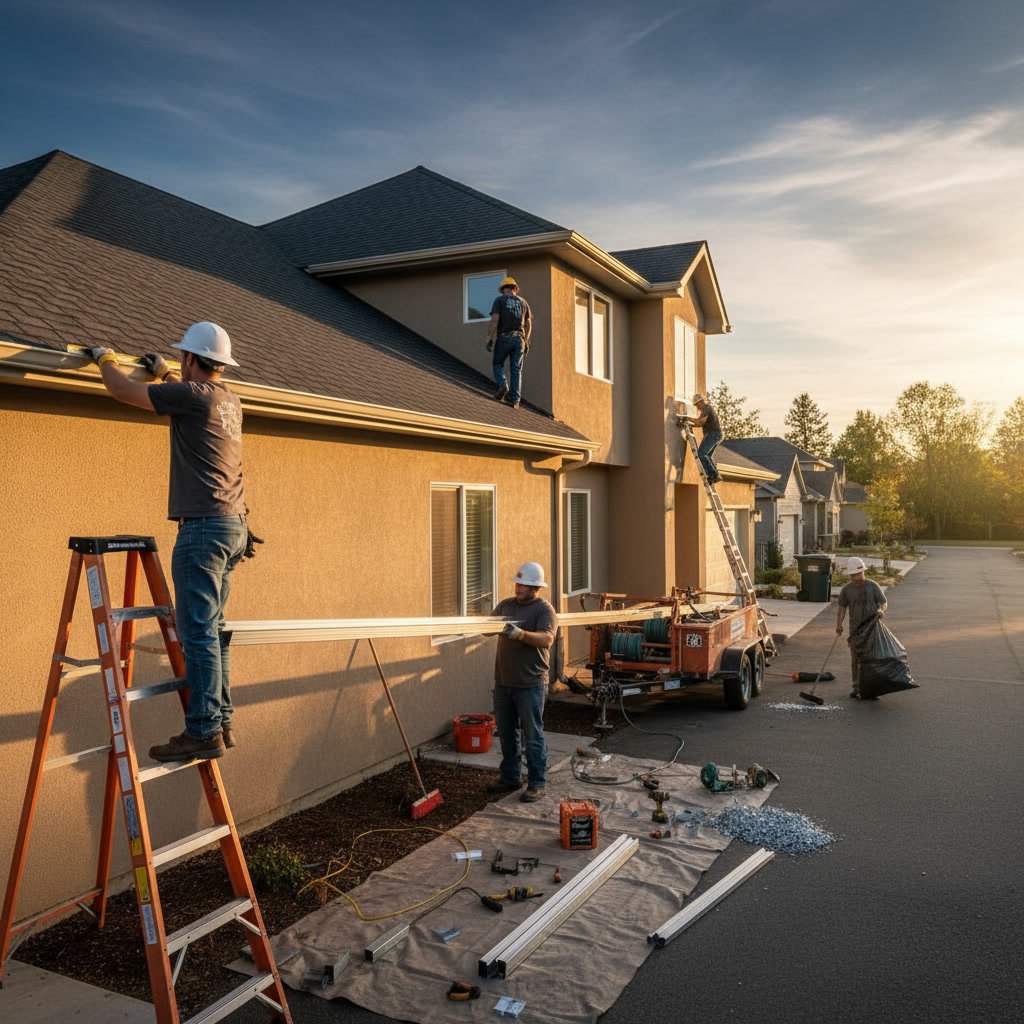
A professional gutter installation process involves five main stages: property assessment and measurements, selecting materials and calculating proper slope, removing old gutters if needed, mounting the new system with hangers spaced correctly, and testing water flow before final cleanup. When executed properly, this sequence typically takes one to three days depending on home size and ensures your gutters protect your foundation, siding, and landscaping for 20 years or more.
Why Proper Gutter Installation Matters for Your Home
Your roof sheds thousands of gallons of water every year. Without a well-designed drainage system, that water cascades off the eaves and pools around your foundation, seeping into basements, eroding soil, and damaging exterior walls. A quality gutter system channels runoff away from vulnerable areas and prevents moisture intrusion that leads to mold, wood rot, and structural damage.
Many homeowners underestimate the engineering that goes into effective drainage. Incorrect slope, undersized downspouts, or poorly sealed seams create clogs and overflows that defeat the entire purpose of the system. Professional installation addresses these details from the start, saving you from repair costs down the road.
The Hidden Connection Between Gutters and Roofing Health
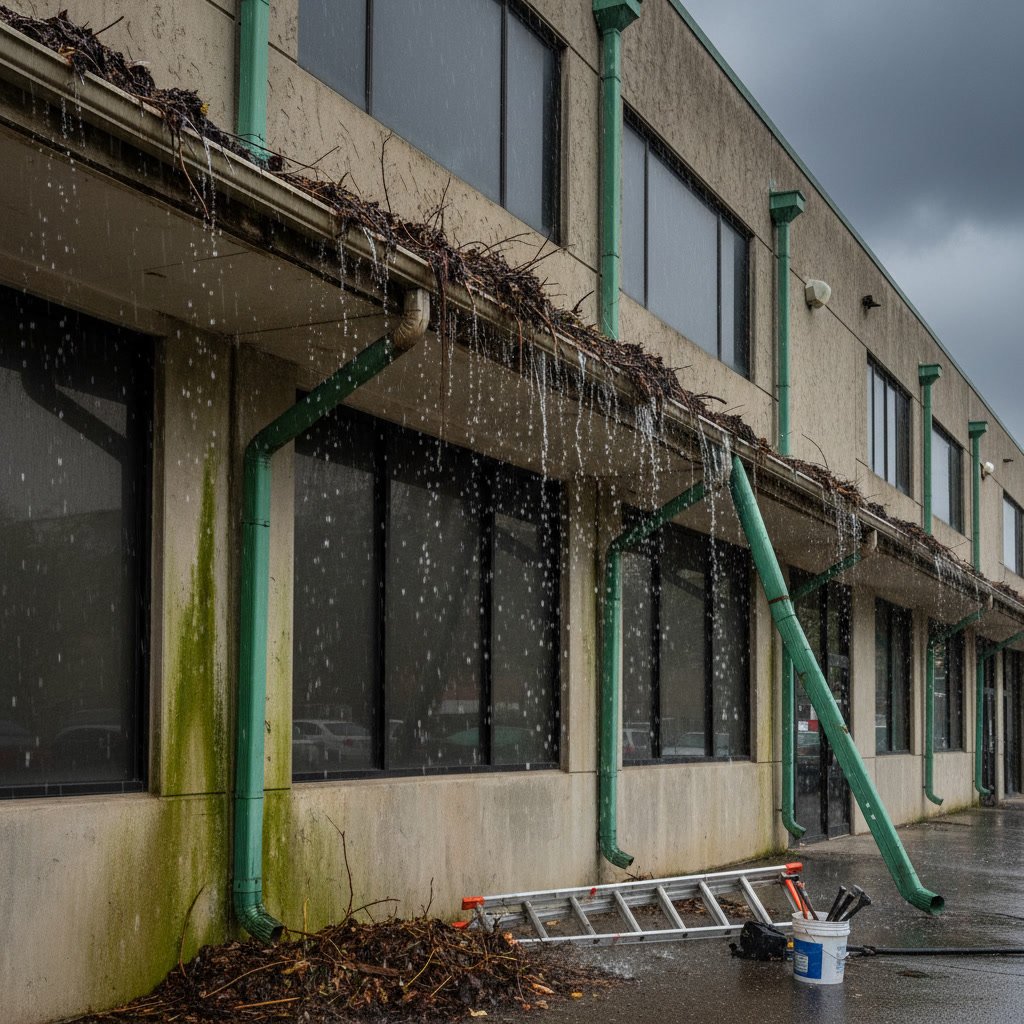
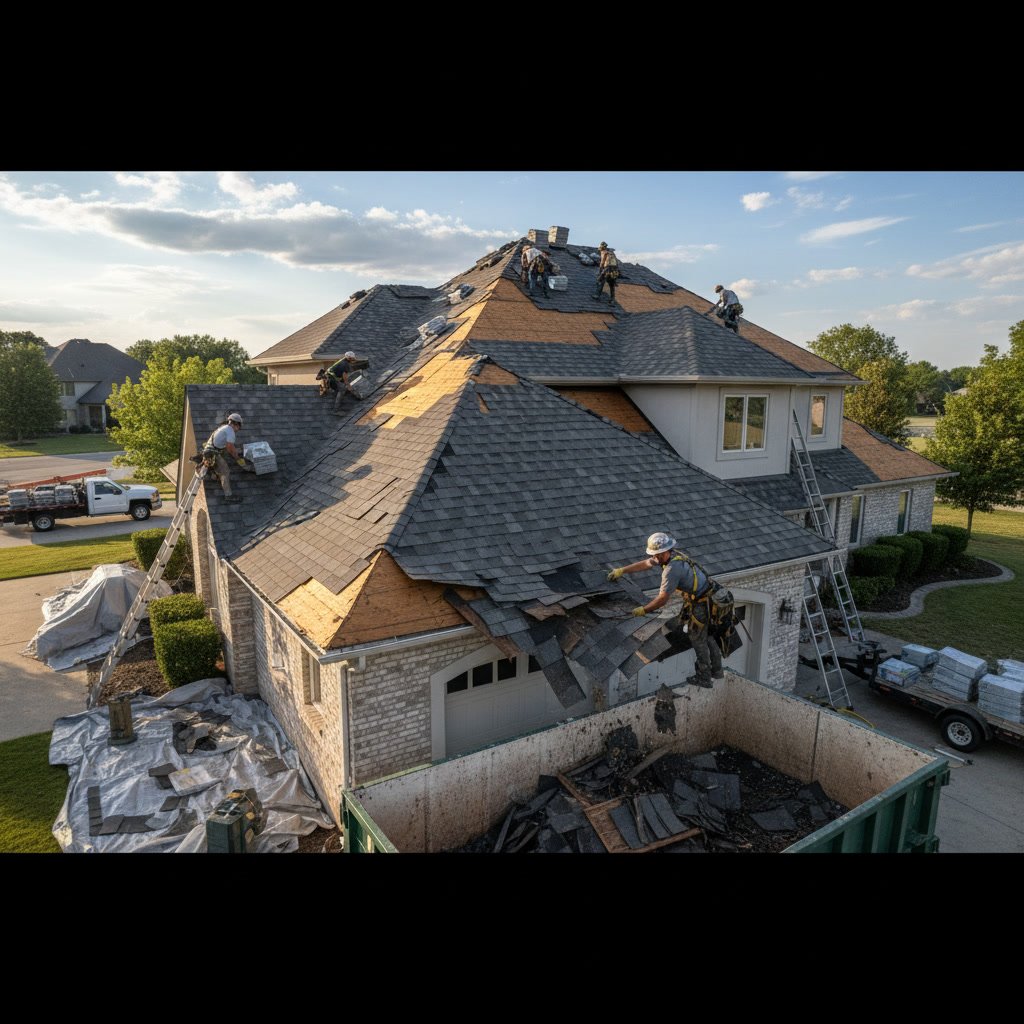
Gutters and roofing work as partners. When water backs up in clogged or sagging gutters, it can lift shingles along the roof edge, saturate fascia boards, and allow ice dams to form in winter. Over time, this moisture exposure shortens roof lifespan and creates entry points for leaks. If you recently completed a roof replacement, installing new gutters at the same time maximizes both investments and ensures compatibility between systems.
Contractors who specialize in both roofing and drainage understand how these components interact. They size gutters to match roof pitch and square footage, position downspouts to minimize runoff concentration, and inspect fascia condition before mounting hardware.
Step One: Initial Property Assessment and Custom Measurements
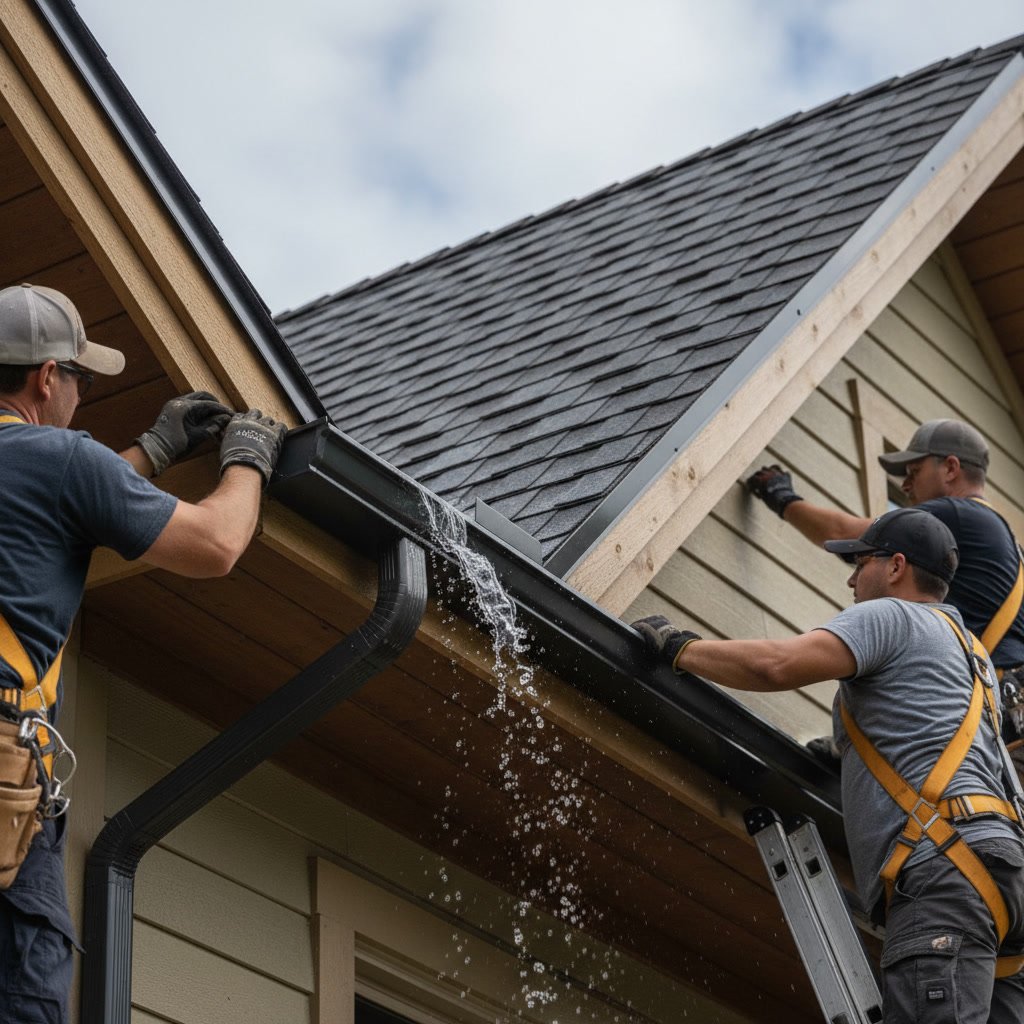
The installation crew begins by walking the perimeter of your home, noting roof pitch, square footage, and how many stories need coverage. They measure the length of each roofline section, count inside and outside corners, and identify valleys where runoff concentrates. These figures determine how much material to order and where to place seams for strength.
Next, they evaluate fascia condition. Rotten or soft boards cannot support gutter weight and require replacement before installation begins. The crew also checks for proper drip edge, a metal flashing that guides water into the gutter rather than behind it. Missing or damaged drip edge gets flagged for repair.
Finally, the team maps downspout locations. Code typically requires one downspout for every 30 to 40 feet of gutter run, but placement also depends on landscaping, foundation grade, and splash block or underground drain options. Strategic positioning prevents water from dumping near basement windows or walkways.
Step Two: Material Selection and Slope Calculation
Most residential installations use seamless aluminum gutters formed onsite with a portable roll-forming machine. This approach eliminates joints along straight runs, reducing leak risk. Gutters come in five-inch or six-inch widths. Homes with steep roofs or large surface areas often need the larger size to handle peak flow during heavy storms.
Proper slope is critical. Gutters must pitch toward downspouts at a rate of one-quarter inch for every 10 feet of run. Too little slope and water sits stagnant, breeding mosquitoes and algae. Too much slope and the gutter looks crooked from the ground. Professional installers use a laser level or string line to mark the correct angle before mounting brackets.
Color matching comes next. Gutters should complement trim and siding, not clash. Most manufacturers offer a dozen standard colors, and the installer brings samples to confirm your choice in natural light before cutting material.
Step Three: Removing Old Gutters and Preparing the Fascia
If you have existing gutters, removal comes first. The crew detaches downspouts, unscrews or pries off hangers, and lowers sections carefully to avoid damaging siding or landscaping below. They haul away the old material and inspect the fascia for damage. Any soft spots, rot, or insect activity gets addressed before new gutters go up.
Fascia repair might involve replacing individual boards or treating minor decay with wood hardener and primer. Skipping this step invites failure because compromised wood cannot hold fasteners securely. Once repairs cure, the surface is cleaned and prepped for mounting hardware.
For homes without gutters, the crew still inspects the fascia and confirms that the roof edge has proper drip edge installed. They may need to coordinate with a roof repair specialist if flashing issues surface.
Step Four: Mounting Brackets and Hanging the Gutter System
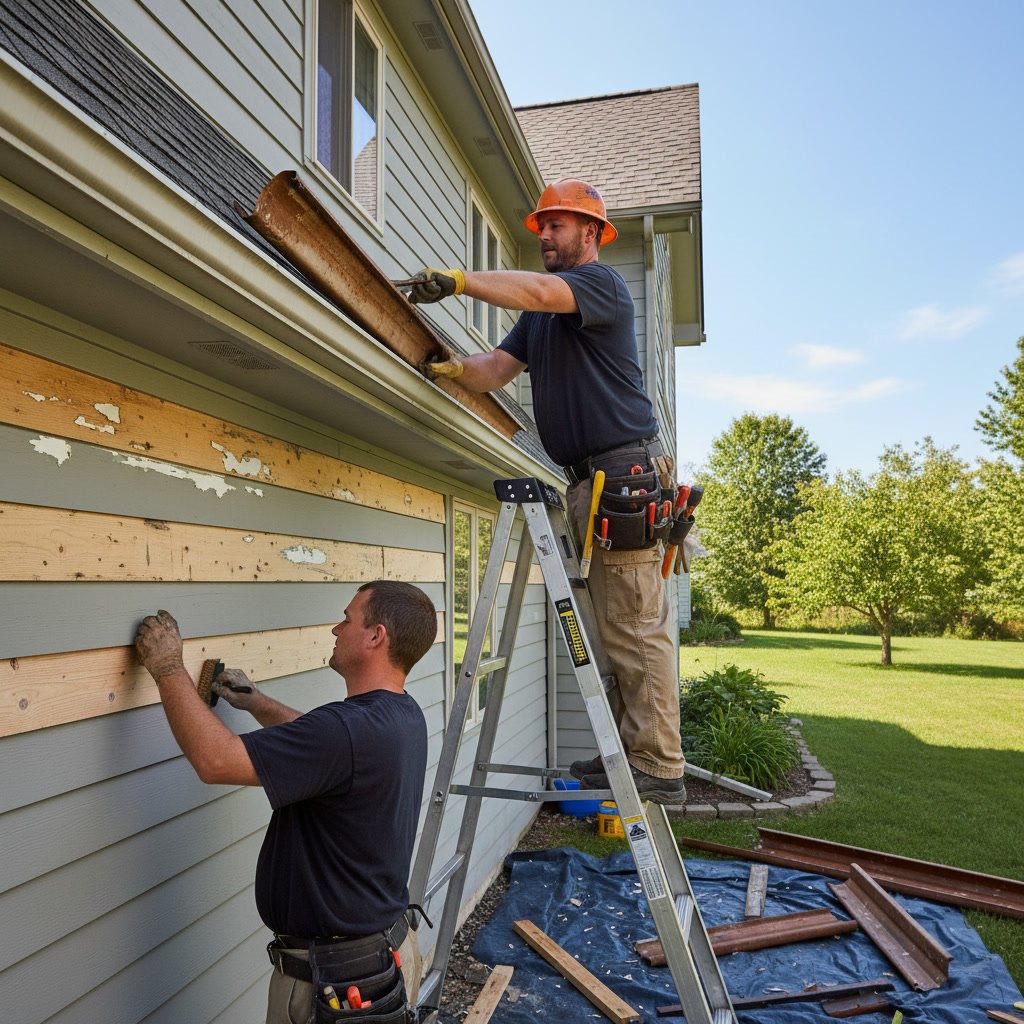
Installation starts at the high point of each gutter run. The crew snaps a chalk line to mark the slope, then attaches the first hanger. Hangers should be spaced every 24 inches in moderate climates and every 16 inches in areas with heavy snow or ice. Closer spacing prevents sagging under weight.
Hidden hangers are the preferred mounting style. These brackets slip inside the gutter and screw directly into the fascia or rafter tails, creating a clean exterior look. Older spike-and-ferrule systems are less secure and more likely to pull loose over time.
Once hangers are in place, the installer feeds the gutter into the brackets, working from the high end toward the downspout outlet. Sections are cut to length with a power miter saw, and corners are joined with pre-formed elbows. All seams and joints receive a bead of commercial-grade gutter sealant rated for UV exposure and temperature swings.
Step Five: Attaching Downspouts and Extensions in Kettering Homes
Downspouts connect to the gutter via outlet tubes inserted through holes cut in the bottom of the trough. The installer secures each outlet with sealant and screws, then attaches downspout sections with matching color brackets every six to eight feet. Elbows direct the discharge away from the foundation.
In Kettering, where clay soil and seasonal rainfall can stress foundations, extending downspouts at least four to six feet from the house is essential. Some homeowners opt for underground drainage pipes that carry water to a dry well or storm drain. Others use hinged extensions that flip down during rain and tuck away for mowing.
The crew also installs end caps on any gutter runs that terminate without a downspout. These caps are sealed and riveted to prevent leaks and give the system a finished appearance.
Step Six: Sealing Joints and Leak Testing the Entire System
After assembly, the installer inspects every seam, corner, and outlet for gaps. Additional sealant is applied wherever needed, and all fasteners are checked for tightness. This attention to detail separates professional work from DIY attempts that fail within a season.
Next comes the water test. The crew runs a hose onto the roof above each gutter section, simulating rainfall and observing how the system handles flow. They watch for leaks, check that water exits downspouts smoothly, and confirm that the gutter slope is correct. If water pools anywhere, they adjust hangers to tweak the pitch.
This testing phase also reveals whether the system can handle peak volume. A gutter that works fine in light rain but overflows during a downpour is undersized or poorly sloped. Professional installers catch these issues before leaving the job.

Step Seven: Installing Gutter Guards and Accessories
Many homeowners add gutter guards to reduce maintenance. These screens, meshes, or solid covers block leaves and debris while allowing water to enter. Quality guards pay for themselves by extending cleaning intervals from twice a year to once every few years.
Not all guards fit all gutters, and installation varies by product. Snap-in screens are simplest but less durable. Micro-mesh systems require clipping under the shingles and offer superior filtration. Solid covers with a nose-forward design use surface tension to guide water into a narrow slot while shedding debris.
Other accessories include rain barrels for water conservation, decorative conductor heads that dress up downspouts, and heat cables to prevent ice dams in vulnerable areas. Your installer can recommend options based on your home’s specific challenges.
Step Eight: Final Cleanup and Inspection Walkthrough
Professional crews treat your property with respect. After installation, they pick up every scrap of old material, wipe down any sealant smudges, and rake landscaping disturbed by ladders. Gutters are given a final wipe to remove dirt and fingerprints.
The project manager then walks the perimeter with you, pointing out key features like hanger spacing, downspout placement, and slope. They explain maintenance basics, such as flushing gutters twice a year and checking for clogs after storms. You receive a written warranty covering materials and labor, typically ranging from five to 20 years depending on the product.
This walkthrough is your chance to ask questions and confirm satisfaction. Reputable contractors want you to understand what was done and why, building confidence in the investment.
How Long Does the Entire Process Take
For a typical single-story home with 150 to 200 linear feet of gutter, installation takes one full day. Two-story homes or complex rooflines may require two days. If fascia repairs are needed, add another half day for carpentry work.
Weather plays a role. Rain halts work because sealants will not cure properly when wet. Extreme cold also slows installation, as aluminum becomes brittle and sealant loses effectiveness below 40 degrees. Spring and fall offer ideal conditions, though experienced crews work year-round with appropriate materials.
Scheduling the job alongside other exterior projects saves time and money. If you are planning gutter installation and replacement with residential roofing updates, coordinating both reduces the number of times crews need to access your roof and ensures compatible warranties.
Protecting Your Investment with Regular Maintenance
Even the best installation requires upkeep. Leaves, twigs, and shingle grit accumulate in gutters over time, leading to clogs that cause overflow and potential damage. Inspect your system twice a year, ideally in late spring after pollen season and again in late fall after leaves drop.
Use a garden hose to flush debris toward downspouts, and check that water exits freely. Look for sagging sections, loose hangers, or rust spots. Small issues caught early are inexpensive to fix. Ignored, they escalate into fascia rot, foundation leaks, or complete system failure.
If you notice recurring problems despite regular cleaning, the system may be undersized or improperly sloped. A professional evaluation can identify design flaws and recommend solutions, whether that means adding downspouts, upgrading to six-inch gutters, or adjusting pitch.
Trust the Details That Make Drainage Systems Last
Quality gutter work hinges on careful measurement, correct slope, secure fasteners, and thorough sealing. These details determine whether your system protects your home for decades or fails within a few years. Understanding each stage of the installation helps you recognize skilled craftsmanship and ask informed questions when comparing contractors.
When your home needs a drainage upgrade, working with a team that handles both roofing and gutters ensures compatibility and long-term performance. Eco Roofing brings that expertise to every project, combining accurate measurements, quality materials, and thorough testing to deliver systems that stand up to Ohio weather. Reach out to our Dayton team at 937-6072141 for a free estimate and discover how professional installation protects your home from foundation to roofline.