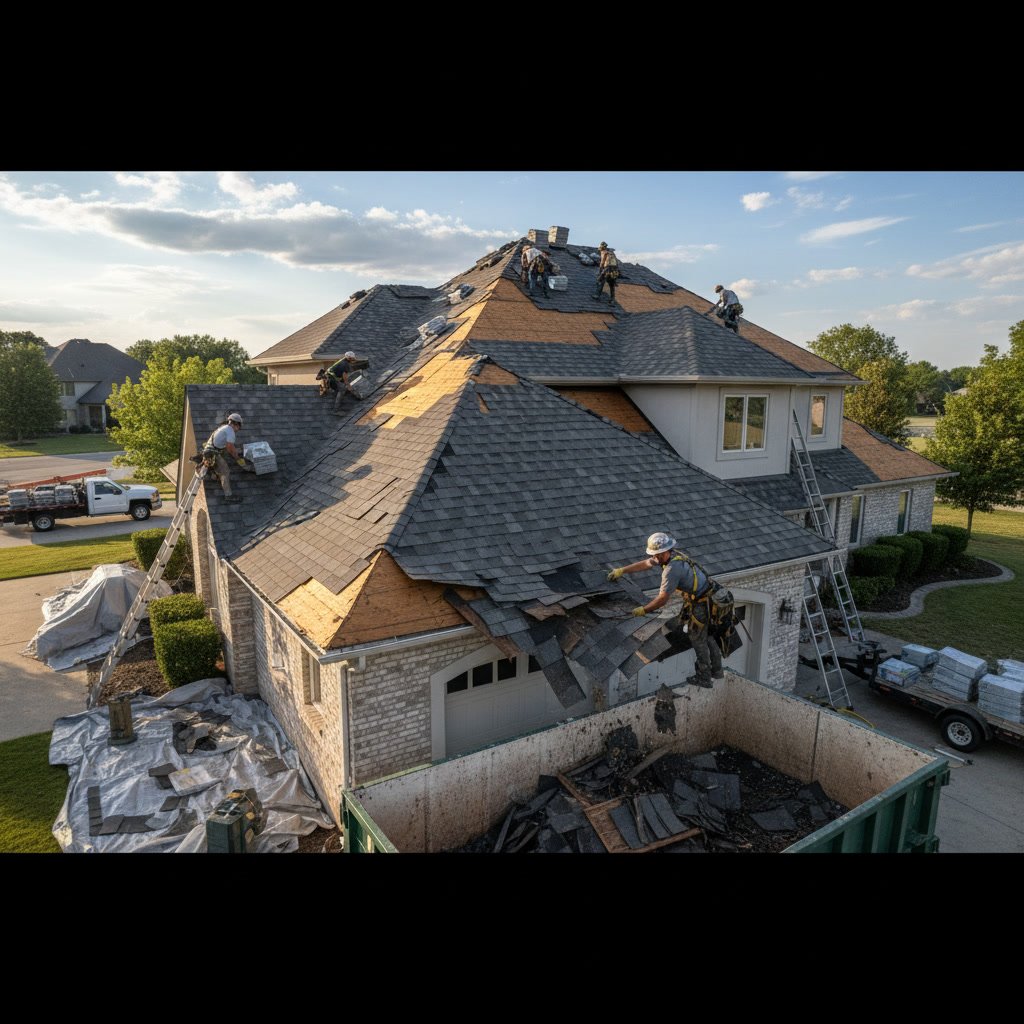
A complete roof replacement process involves removing your old roof, inspecting the deck, installing new materials, and passing a final inspection to ensure quality and code compliance. The entire project typically takes three to seven days for a residential home, depending on size, weather, and the complexity of your roof design. Knowing each phase helps you prepare your property, understand the timeline, and recognize the quality benchmarks that separate a professional installation from a rushed job.
Most homeowners face a roof replacement only once or twice in their lifetime, so the steps can feel unfamiliar. This guide walks through every stage of the installation, from the moment the crew arrives for tearoff to the moment you receive your final inspection certificate and warranty documents.
Why Understanding the Installation Timeline Matters
When you know what happens at each stage, you can better coordinate with your contractor, protect your belongings, and spot potential shortcuts that compromise long-term performance. A transparent process builds trust and ensures nothing gets overlooked.
Professional roofers follow a systematic approach that balances speed with precision. Rushing through critical steps like deck inspection or flashing installation creates weak points that lead to leaks within a few years. Understanding the timeline also helps you plan around noise, debris, and temporary disruptions to your daily routine.
Pre-Installation Preparation and Site Setup
Before any shingles come off, the crew sets up ground protection, tarps, and debris containers. They identify fragile landscaping, mark utility lines, and establish safe pathways for material delivery. This preparation phase prevents damage to your property and keeps the work zone organized.
Contractors also verify that all materials have arrived and match the specifications in your contract. Missing or incorrect products delay the project, so a thorough inventory check on day one saves time later. The team reviews the weather forecast to avoid starting tearoff right before a storm.
Tearoff and Old Material Removal
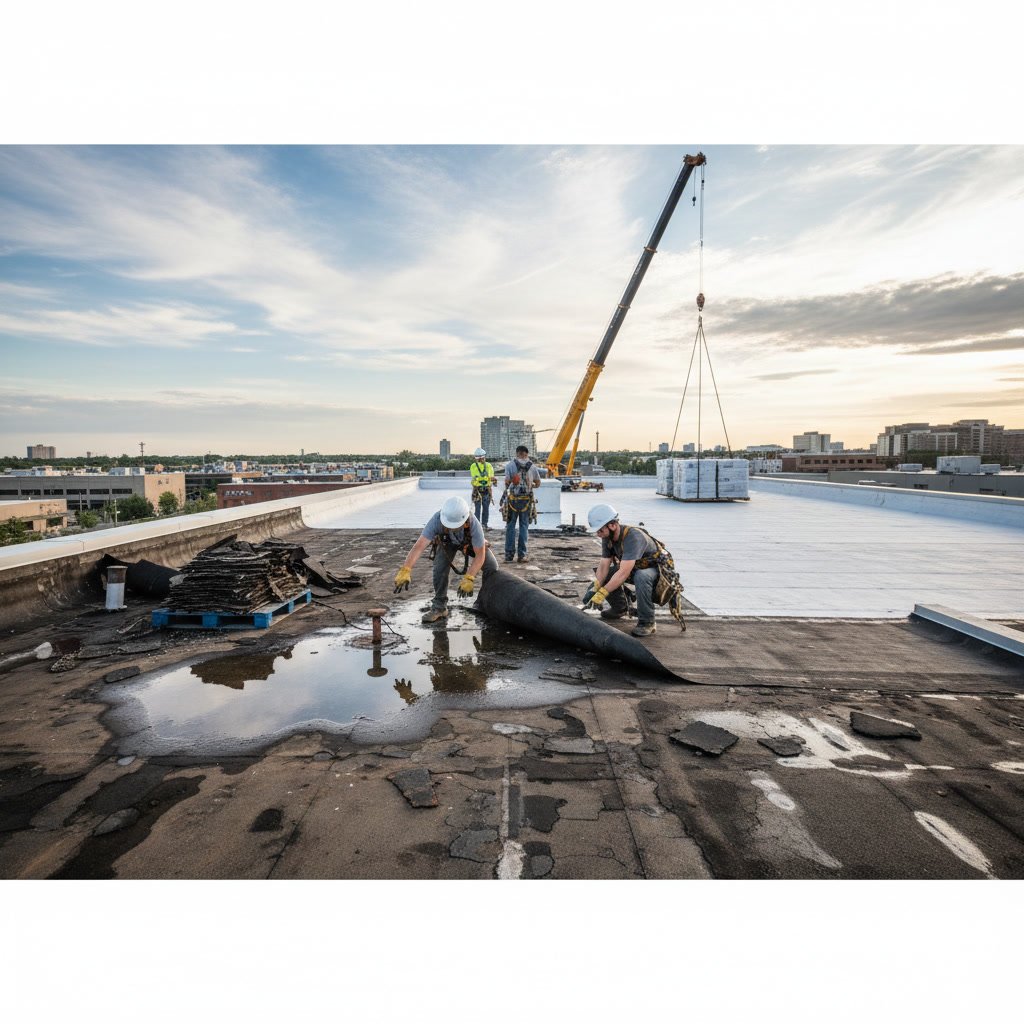
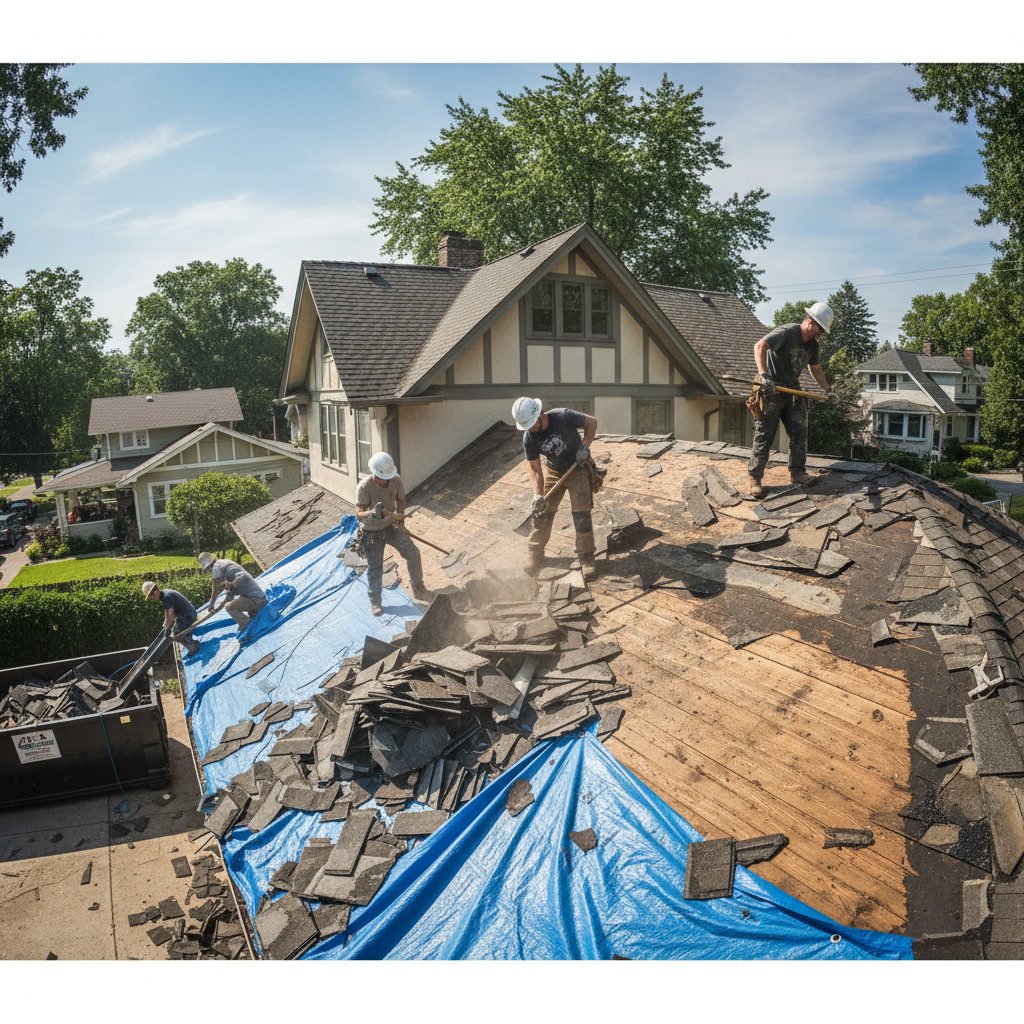
Tearoff begins at the ridge and works downward in sections, stripping away old shingles, underlayment, and any damaged flashing. Crews use specialized tools like roofing shovels and pry bars to lift materials without gouging the deck. A magnetic roller collects nails from your driveway and yard to prevent tire punctures and injuries.
During tearoff, roofers inspect each section of decking as it becomes exposed. Soft spots, rot, or water stains signal structural damage that must be addressed before new materials go on. Some homeowners discover hidden problems during this phase, which is why a detailed assessment of repair versus replacement needs matters before the project begins.
Deck Inspection and Structural Repairs
Once the old roof is off, the deck inspection reveals the true condition of your roof’s foundation. Roofers check for sagging, warping, and moisture damage across every sheet of plywood or OSB. Any compromised sections get replaced with new decking that matches or exceeds the original thickness and grade.
This step separates quality contractors from those who cut corners. Skipping deck repairs means your new roof sits on a weak foundation, leading to premature failure and voided warranties. Structural repairs also include reinforcing trusses or rafters if damage extends beyond the surface layer.
Underlayment and Ice Dam Protection Installation
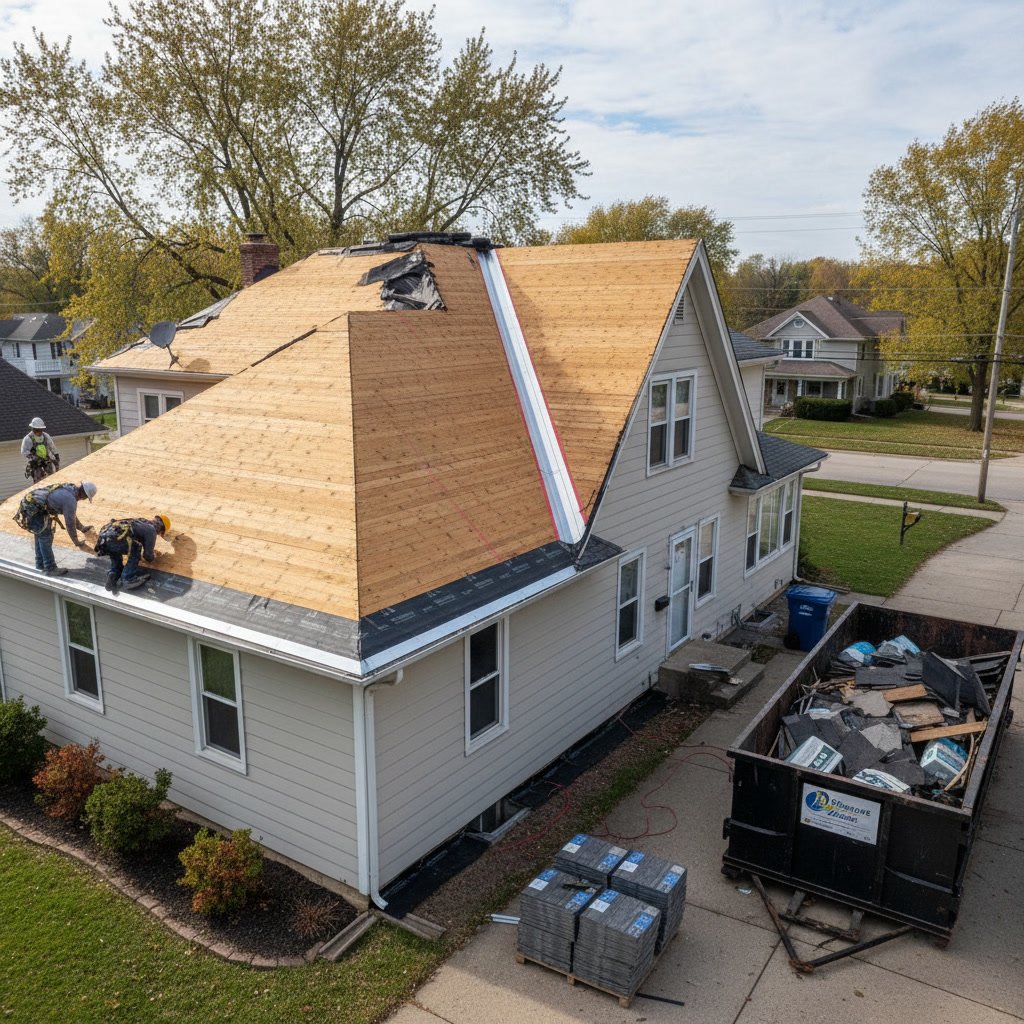
After the deck passes inspection, the crew installs a water-resistant underlayment across the entire roof surface. This synthetic or felt barrier acts as a secondary line of defense if wind-driven rain gets under the shingles. In Ohio’s climate, ice and water shield goes along eaves, valleys, and around penetrations to prevent ice dam leaks during winter freezes.
Proper underlayment lapping and fastening techniques matter more than most homeowners realize. Gaps or wrinkles trap moisture and create pathways for water intrusion. Professional installers align each roll carefully and use the correct number of fasteners per square foot, following manufacturer specifications to maintain warranty coverage.
Drip Edge, Flashing, and Valley Installation in Kettering
Metal drip edge protects the roof’s perimeter by directing water into gutters and away from fascia boards. Roofers install it before the first shingle goes down, creating a clean edge that resists wind uplift. Step flashing around chimneys, skylights, and wall intersections prevents water from seeping into joints.
Valley flashing requires special attention because these areas channel high volumes of water. Open valleys use metal flashing, while closed valleys weave or cut shingles over underlayment. Each method has strengths, but proper execution matters more than the style. Homes in Kettering face seasonal temperature swings that expand and contract flashing, so secure fastening and adequate overlap prevent future leaks.
Shingle Installation from Starter Course to Ridge Cap
Shingle installation starts with a starter strip along the eaves to seal the first course and resist wind. Roofers work upward in staggered rows, aligning each shingle according to manufacturer patterns that maximize wind resistance and water shedding. Proper nail placement – typically four to six nails per shingle – ensures each piece stays put during storms.
Ridge cap shingles finish the peak, creating a watertight seal where two roof planes meet. These pre-formed caps bend over the ridge and get nailed on both sides for double protection. Ventilation integration at the ridge allows hot air to escape from the attic, extending shingle life and reducing cooling costs.
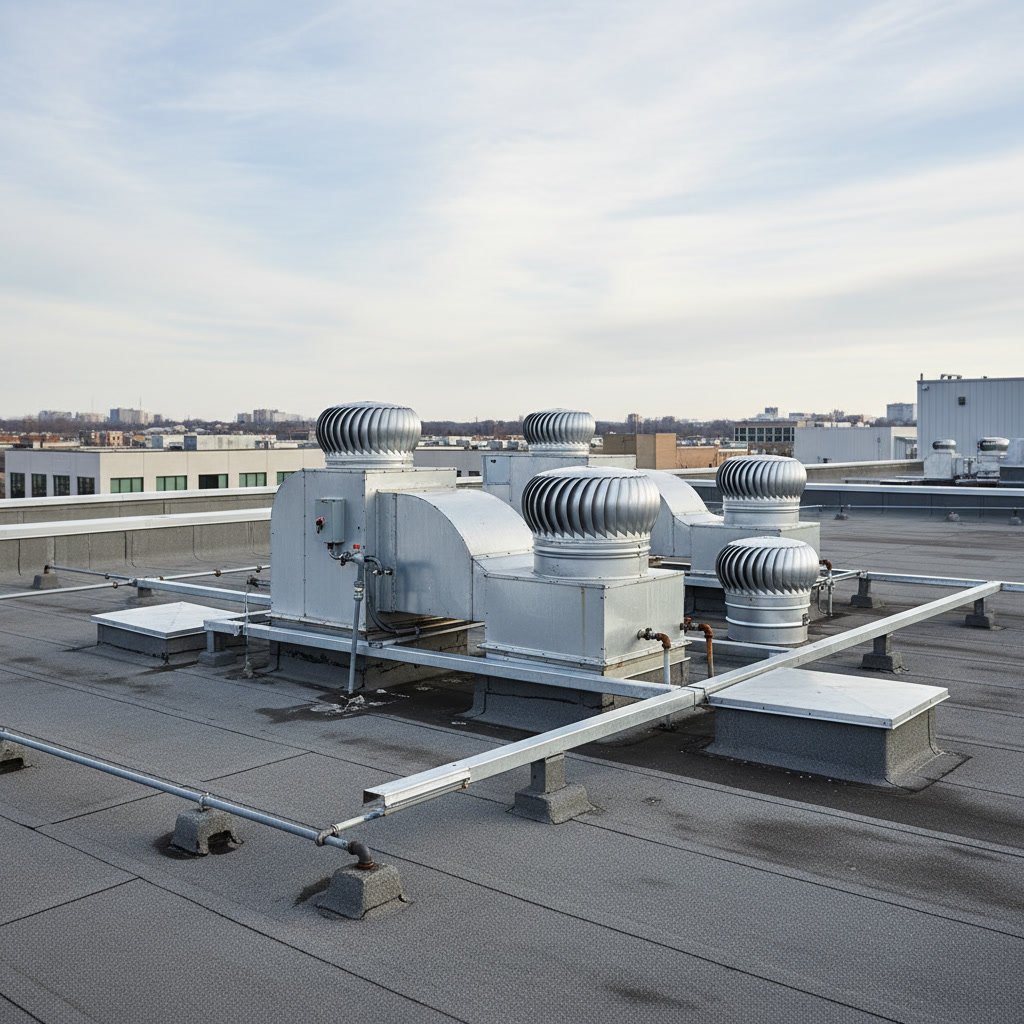
For commercial roofing projects, the process differs slightly depending on whether the building uses TPO or EPDM membrane systems, but the principles of proper deck preparation and flashing remain consistent.
Ventilation, Pipe Boots, and Penetration Sealing
Roof penetrations – vents, pipes, exhaust fans – require individual boots or flashing collars to seal the opening. Roofers cut shingles to fit around each penetration, then layer the boot under the upslope shingles and over the downslope ones. Sealant and proper shingling create a watertight barrier that flexes with temperature changes.
Attic ventilation balances intake vents at the soffits with exhaust vents at the ridge or gables. Adequate airflow prevents heat and moisture buildup that rots decking and shortens shingle life. Many older homes lack sufficient ventilation, so a roof replacement offers the perfect opportunity to upgrade this critical system.
Gutter Coordination and Final Cleanup
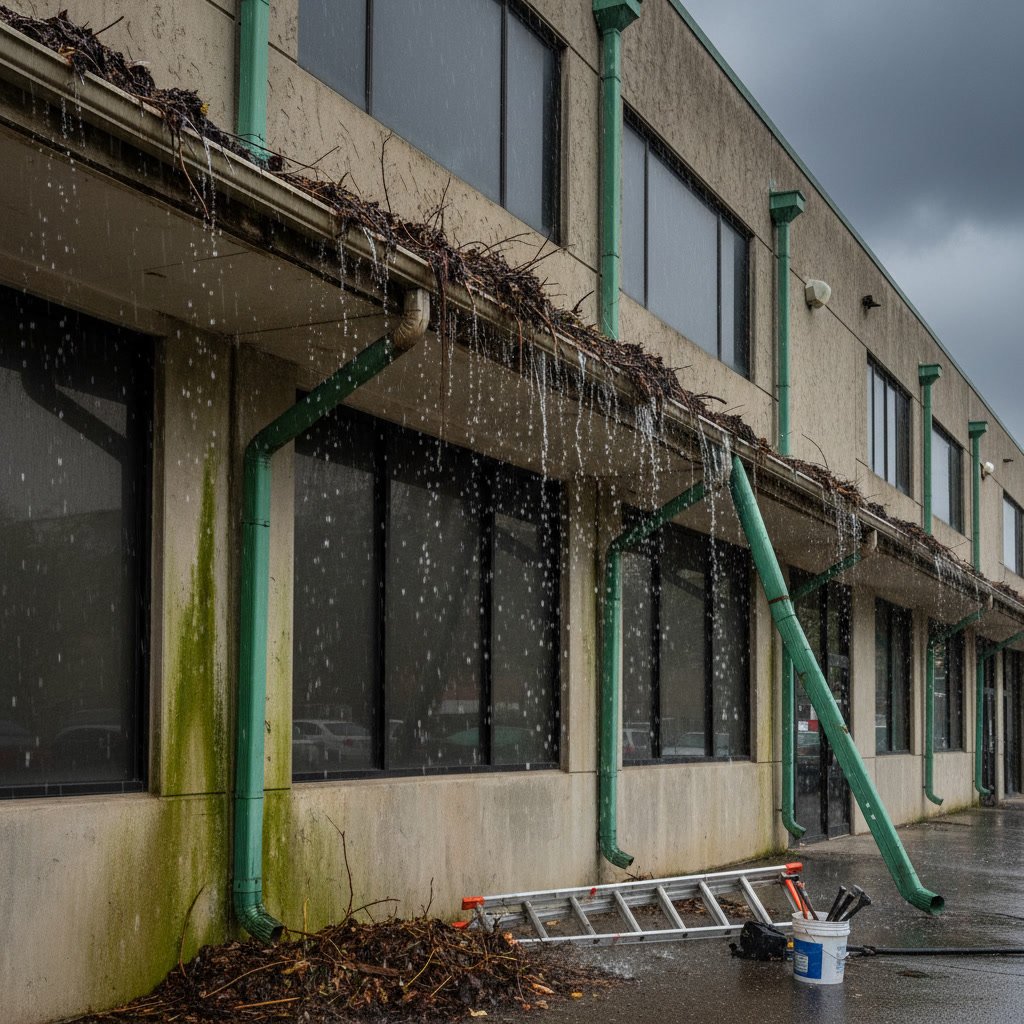
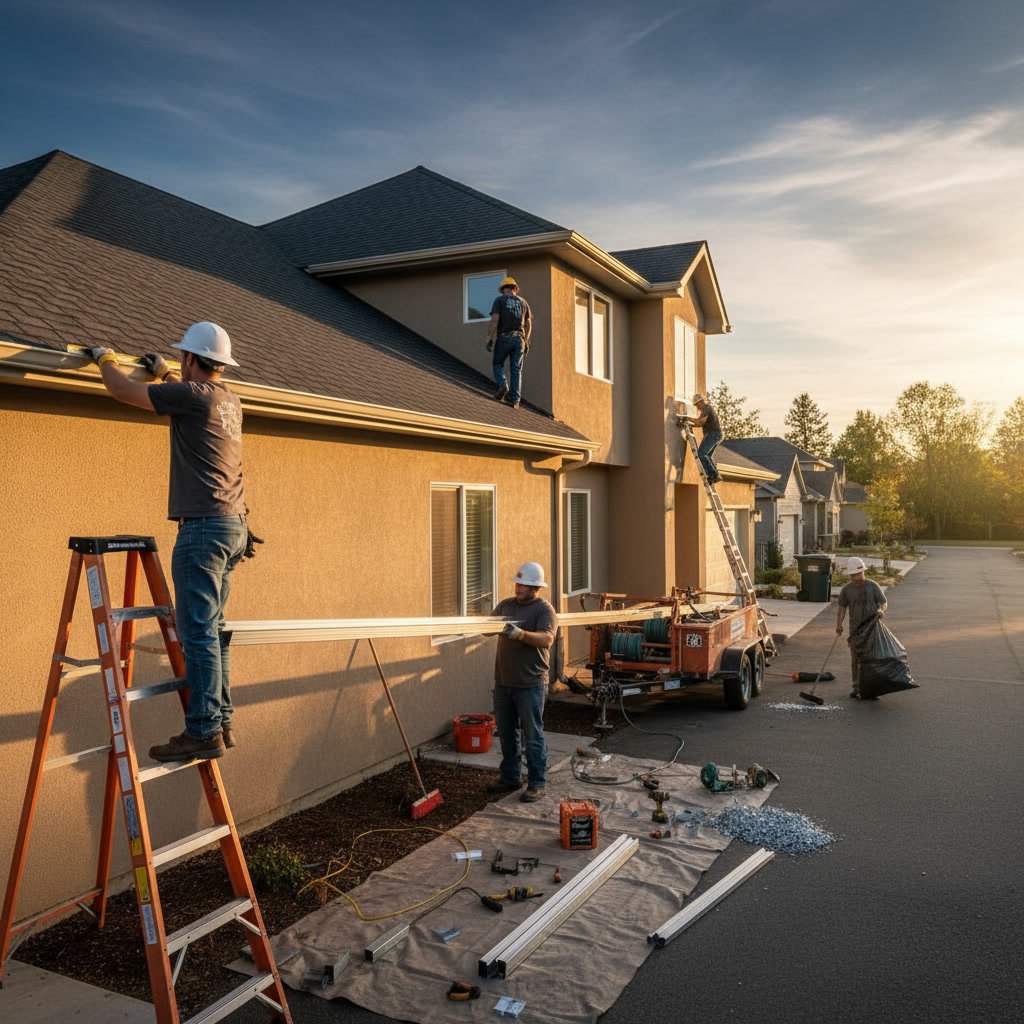
If your project includes new gutters or gutter repairs, the crew coordinates installation after the roof is complete. Proper gutter placement ensures water flows away from the foundation and doesn’t back up under the drip edge. Downspouts get positioned to direct runoff toward landscaping or drainage systems, not against your home’s siding.
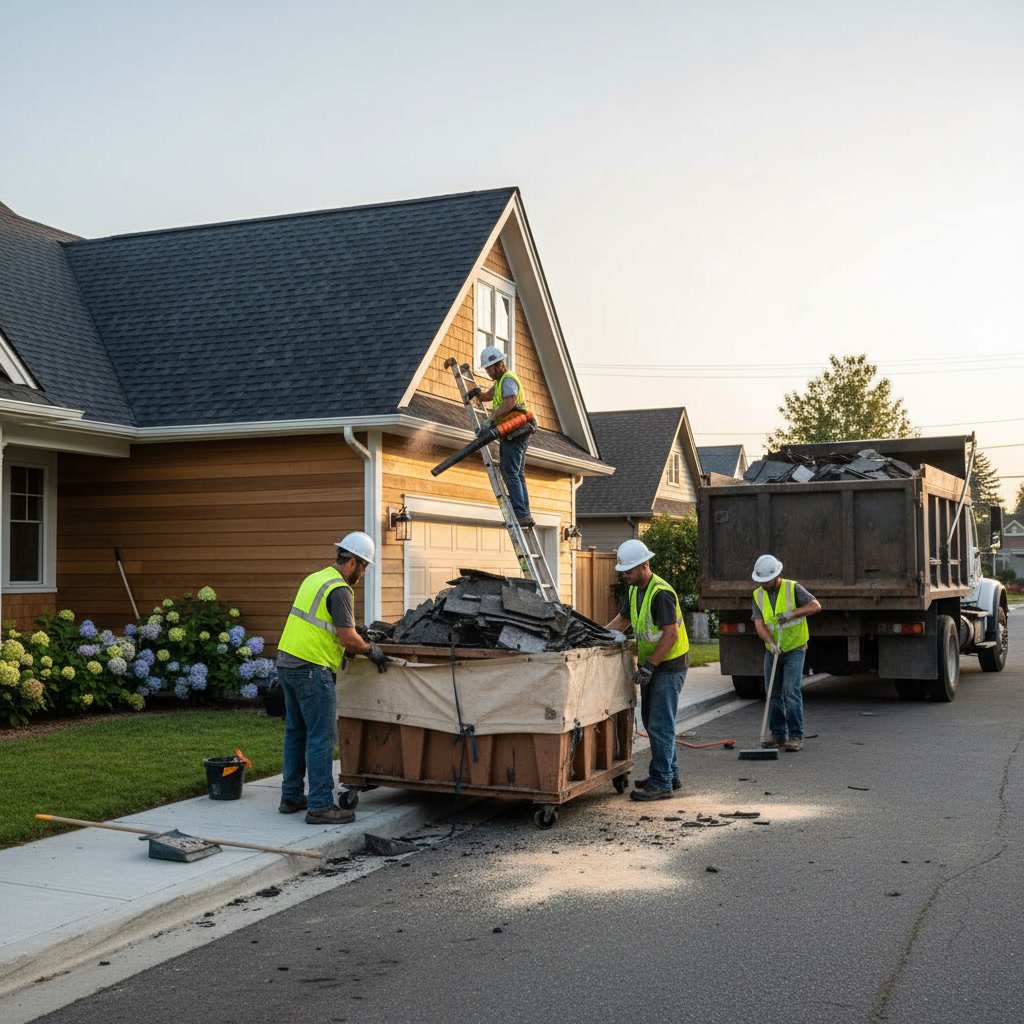
Final cleanup involves removing all debris, sweeping the property with magnetic rollers, and inspecting for any leftover nails or shingle fragments. Professional crews haul away old materials the same day, leaving your yard cleaner than they found it. A thorough cleanup protects your family, pets, and vehicles from sharp objects.
Final Inspection and Quality Assurance Walkthrough
The final inspection covers every detail, from shingle alignment to flashing integrity. Many municipalities require a building inspector to verify code compliance before issuing a certificate of completion. Your contractor walks the roof to check for missed nails, uneven courses, or gaps in sealant.
This is also when you receive warranty documentation for both materials and workmanship. Manufacturer warranties typically cover shingle defects for 25 to 50 years, while workmanship warranties from the installer protect against installation errors for 10 to 25 years. Keep these documents safe, as they’re essential for future claims or when you sell your home.
One expert-level detail many contractors overlook: photographing the completed roof from multiple angles and documenting attic ventilation airflow measurements. These records provide a baseline for future inspections and help diagnose problems if they arise years later. Ask your contractor to include this documentation in your final package.
Protecting Your Investment for the Long Term
A properly installed roof should last 20 to 30 years or more with minimal maintenance. Regular inspections, prompt roof repair of minor damage, and keeping gutters clean and functional extend that lifespan. Small investments in upkeep prevent expensive emergency repairs and preserve your home’s value.
Understanding what happened during your installation also helps you communicate with future contractors if repairs become necessary. You’ll know where the ice and water shield is located, what type of underlayment was used, and how your ventilation system is configured. That knowledge saves time and money when diagnosing problems down the road.
Every roof replacement follows this systematic approach, but the quality of materials, attention to detail, and installer expertise make the difference between a roof that lasts decades and one that fails prematurely. Choosing a contractor who follows industry best practices and backs their work with solid warranties gives you confidence that your investment is protected through every season Ohio throws at it.
Eco Roofing has guided hundreds of homeowners and business owners through the roof replacement process across the greater Dayton area. Our team handles every step with transparency and precision, from the first shingle removed to the final inspection sign-off. If you’re ready to move forward with your project or have questions about what to expect, reach out to our team at 937-6072141 for a free estimate and a detailed timeline customized to your property.