
A roof replacement project requires careful planning beyond choosing the right contractor and materials. To prepare for roof replacement, homeowners should secure valuables, clear access routes, protect landscaping, and communicate with neighbors. Taking these steps before installation day reduces stress, prevents damage to your property, and helps the roofing crew work safely and efficiently.
Why Planning Ahead Matters for Major Roofing Work
Roof replacement involves heavy equipment, falling debris, and vibrations that travel through the entire structure. Without proper preparation, you risk damage to vehicles, landscaping, outdoor furniture, and interior items like wall hangings or ceiling fixtures. Professional crews work quickly, often completing a residential roof in one to three days, but that compressed timeline means conditions change fast.
Planning also protects your daily routine. You’ll know when to keep pets indoors, when to park elsewhere, and how to arrange childcare if needed. The more you anticipate, the fewer surprises you’ll face when work begins.
Understanding What Happens During Installation
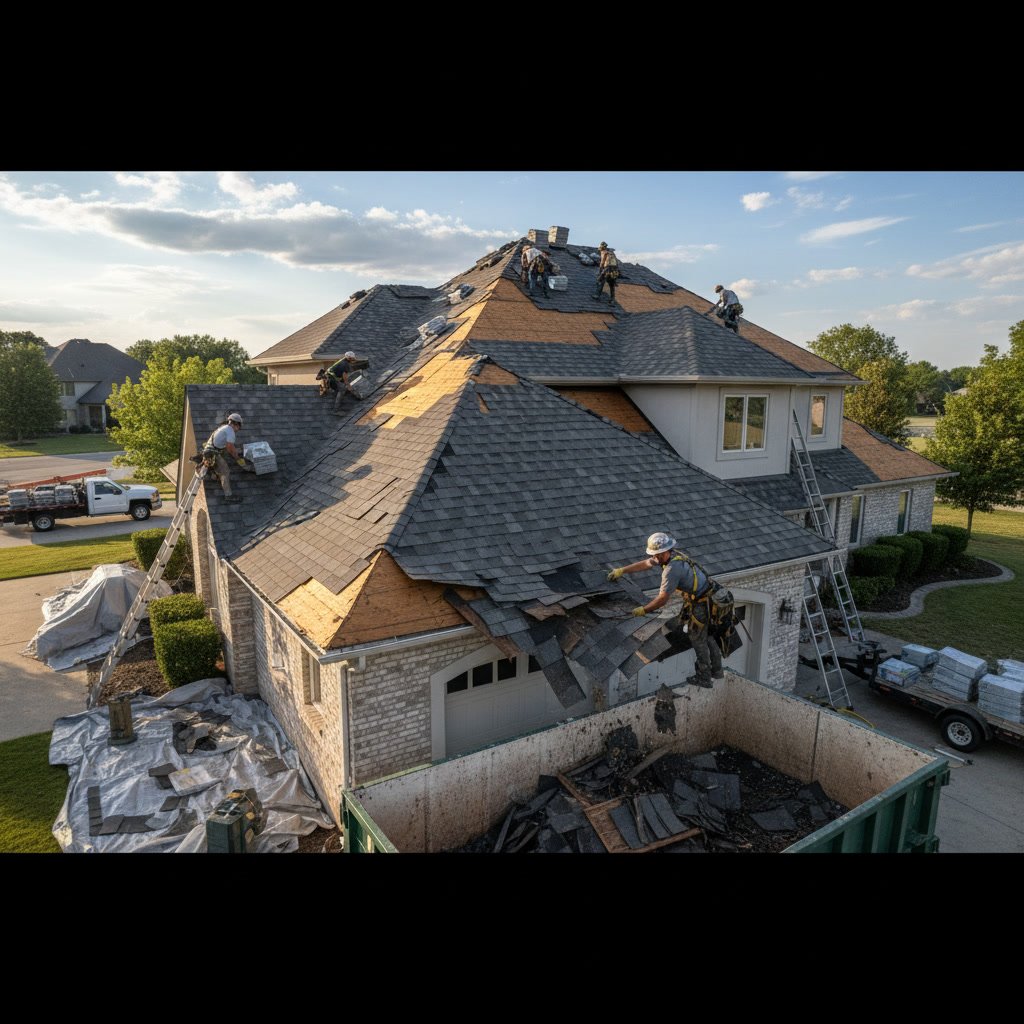
Before the first shingle comes off, the crew will set up equipment, deliver materials, and position dumpsters or tarps. Tear-off generates significant noise and vibration as workers remove old roofing down to the deck. Nail guns, power tools, and hammering continue throughout the day.
Debris falls continuously during tear-off. Even with protective tarps, small nails, granules, and shingle fragments can scatter across your yard. Magnetic sweeps at the end of each day catch most metal fasteners, but advance preparation minimizes risk to people, pets, and property.
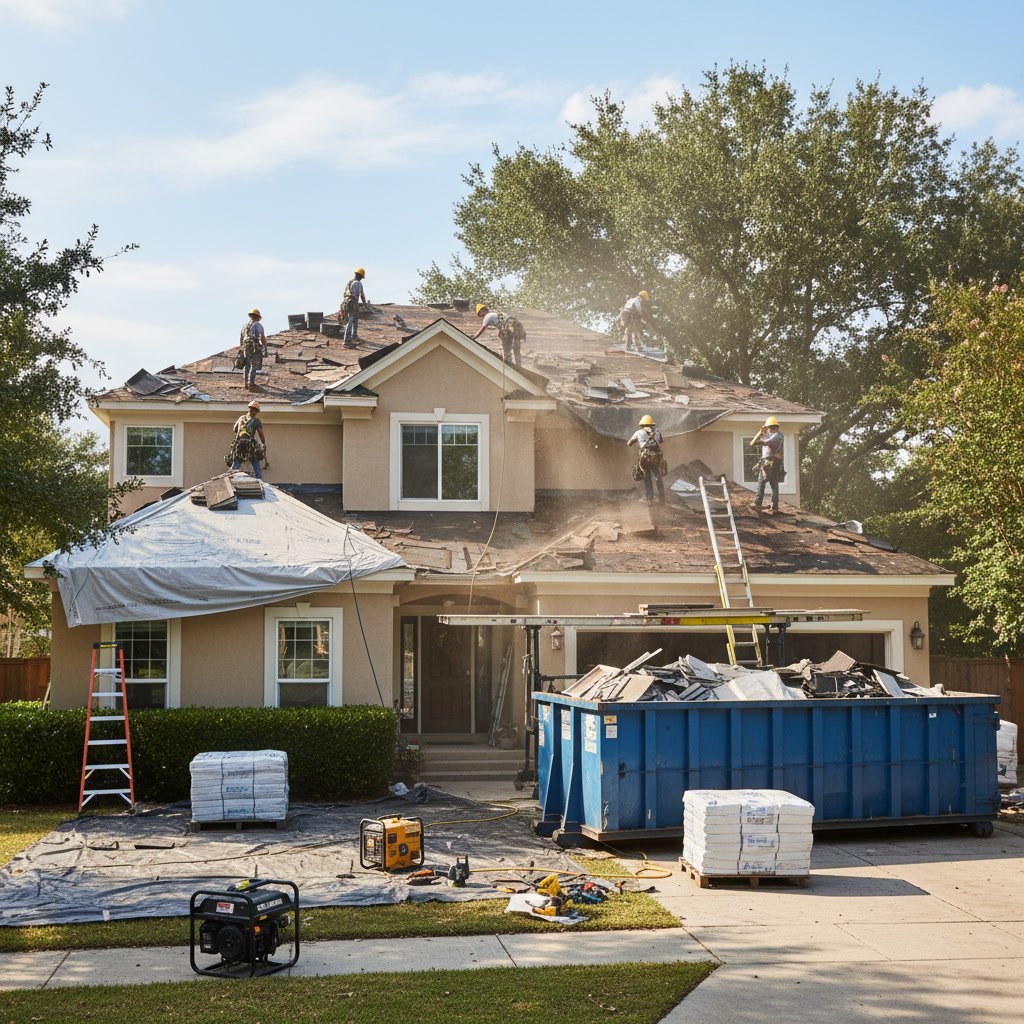
Clearing the Work Zone Around Your Home in Kettering
Start by moving all vehicles at least 15 feet from the house. Roofing debris falls unpredictably, and even a tarp won’t stop every nail. If your driveway sits directly under the roofline, park on the street or ask a neighbor for temporary space.
Remove outdoor furniture, grills, potted plants, decorations, and play equipment from patios, decks, and areas within 10 feet of the house. This creates a safety buffer and prevents accidental damage. Contractors need clear access to all sides of the structure, so the fewer obstacles, the faster and safer the work proceeds.
Trim back tree branches that hang within six feet of the roof. Branches can interfere with material delivery, scratch new shingles during installation, or create hazards for workers. If you have mature trees close to the house, a quick pruning session protects both the crew and your investment.
Protecting Your Landscaping and Exterior Features
Cover delicate shrubs, flower beds, and garden features with plywood sheets or heavy tarps. Falling shingles and tools can crush plants, and foot traffic around the perimeter compacts soil. Mark sprinkler heads with flags so workers don’t step on them, and consider shutting off exterior irrigation systems during the project.
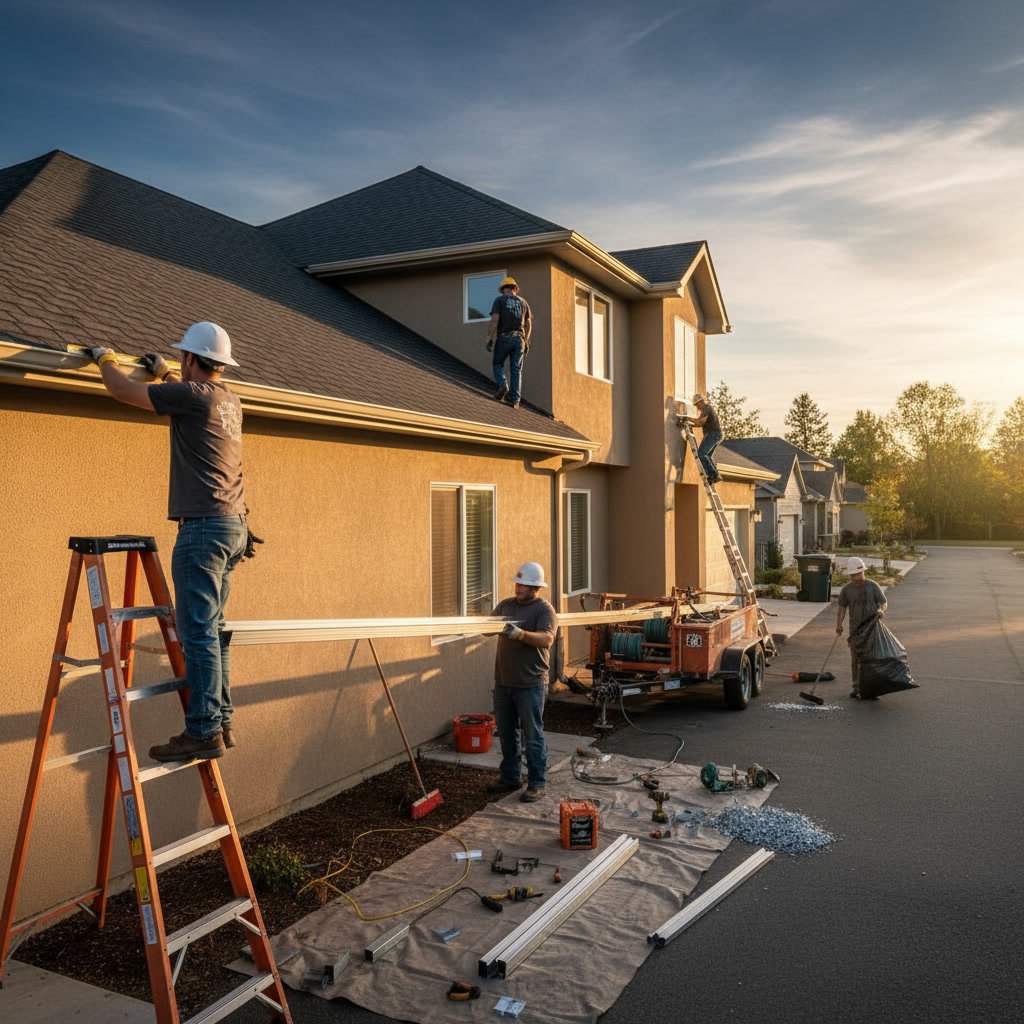
Move or cover outdoor lighting fixtures, hose reels, and decorative elements attached to the house. Vibration can loosen wall-mounted items, and a falling tool can shatter glass or bend metal. If you have gutters scheduled for replacement at the same time, expect additional activity along the roofline and plan accordingly.
Interior Preparations to Prevent Damage
Walk through every room and remove or secure items hanging on walls and ceilings. Picture frames, mirrors, shelves, and light fixtures can shift or fall from vibration. In the attic, move stored boxes away from potential leak points and cover items with plastic sheeting in case of unexpected weather.
If you have a home office, protect electronics by covering computers and monitors with dust cloths. Fine particles can infiltrate older homes during tear-off, especially around attic vents and ceiling penetrations. While rare, dust migration happens in houses with poor attic sealing.
Consider relocating fragile antiques, collectibles, or valuable art to a ground-floor interior room farthest from the work zone. The safest spot is typically a first-floor bathroom or closet on the opposite side of the house from where crews will stage materials.
Step-by-Step Checklist for the Week Before Installation
Seven days before your scheduled start date, confirm the timeline with your contractor. Weather can shift schedules, so stay in contact and be ready to adjust. Verify that permits are in place and materials have been ordered.
Three days out, notify your immediate neighbors. Roofing projects create noise and occasional debris drift. A courtesy heads-up maintains good relationships and gives neighbors time to move their vehicles or adjust their own schedules if needed.
Two days before, complete all exterior clearing. Move vehicles, outdoor items, and cover landscaping. Inside, remove wall hangings and secure fragile items. Check that your driveway and street access allow for delivery trucks and dumpster placement.
The night before, do a final walk-through. Ensure gates are unlocked if crews need backyard access. Confirm pets are secured indoors or boarded. Set up a space inside where you can retreat if noise becomes overwhelming, especially if you work from home.

Managing Pets and Children During the Project
Roofing noise frightens many pets. Constant hammering, nail guns, and heavy footfalls overhead create stress for dogs and cats. Keep animals indoors in a quiet room with familiar bedding, toys, and water. If your pet has severe anxiety, consider boarding or arranging a stay with friends during the noisiest phases.
Young children should stay indoors during active work hours. Falling debris, moving equipment, and elevated workspaces create multiple hazards. If you have toddlers or preschoolers at home, plan activities in the safest interior rooms or arrange playdates elsewhere. Older children can observe from a safe distance, but establish clear boundaries about where they can and cannot go.
Coordinating Access and Communication
Discuss access points with the crew supervisor before work begins. Confirm which areas they’ll use for material staging, waste collection, and equipment placement. If you have security systems, alarms, or cameras, let the contractor know so unexpected movement doesn’t trigger alerts.
Provide a contact number where you can be reached throughout the day. Even if you’re home, you may not hear knocking over the noise. Quick communication helps resolve small issues before they become delays. If you’re deciding between repair or full replacement, confirm the final scope in writing before installation day to avoid confusion.
Establish a daily check-in routine. A quick conversation at the start and end of each day keeps you informed about progress, upcoming tasks, and any unexpected findings. Good contractors welcome questions and provide clear updates without prompting.
Preparing for Weather Delays and Contingencies
Ohio weather changes quickly. Even with a detailed forecast, rain, high winds, or extreme heat can halt work mid-project. Understand your contractor’s weather policy and how delays affect the schedule. Reputable teams tarp exposed areas overnight and during rain to protect your home.
If forecasts show storms during your project window, discuss contingency plans upfront. Some contractors reschedule proactively, while others work around brief weather windows. Knowing the plan reduces anxiety when clouds roll in unexpectedly.
Keep a backup parking plan if your driveway remains blocked longer than expected. Have indoor entertainment ready if you’re staying home during delays. Flexibility and patience during weather interruptions keep the project on track without adding stress.

What to Expect on Installation Day
Crews typically arrive early, often by 7 or 8 a.m., to maximize daylight hours. The first task is setting up safety equipment, tarps, and material delivery zones. Expect steady noise once tear-off begins, usually within the first hour.
Tear-off is the loudest phase. The sound of old shingles being ripped away and dropped into dumpsters carries throughout the house. Vibration peaks during this period. Once the old roof is removed, the pace steadies as workers install underlayment, flashing, and new roofing material.
Cleanup happens continuously. Professional crews run magnetic sweeps multiple times and collect debris throughout the day. A final sweep occurs after installation, but walking your yard afterward and checking for stray nails adds extra safety, especially if you have children or pets.
Ensuring a Smooth Project From Start to Finish
Preparation transforms a roof replacement from a stressful disruption into a manageable home improvement project. By clearing work zones, protecting your property, and coordinating closely with your contractor, you create conditions for quality work and efficient timelines. The steps outlined here apply whether you’re installing asphalt shingles on a residential property or upgrading a commercial structure.
Taking time to plan also gives you confidence in the process. You’ll know what to expect each day, where potential issues might arise, and how to respond if conditions change. That peace of mind is valuable when a crew is working 20 feet above your living room.
If you’re ready to move forward with a roof replacement in the Dayton area, Eco Roofing brings the experience and professionalism that makes preparation pay off. Our team handles every detail, from initial estimates to final cleanup, ensuring your project runs smoothly and delivers results that protect your home for decades. Reach out to Eco Roofing at 937-6072141 for a free estimate and personalized guidance on preparing your property for a successful roof replacement.