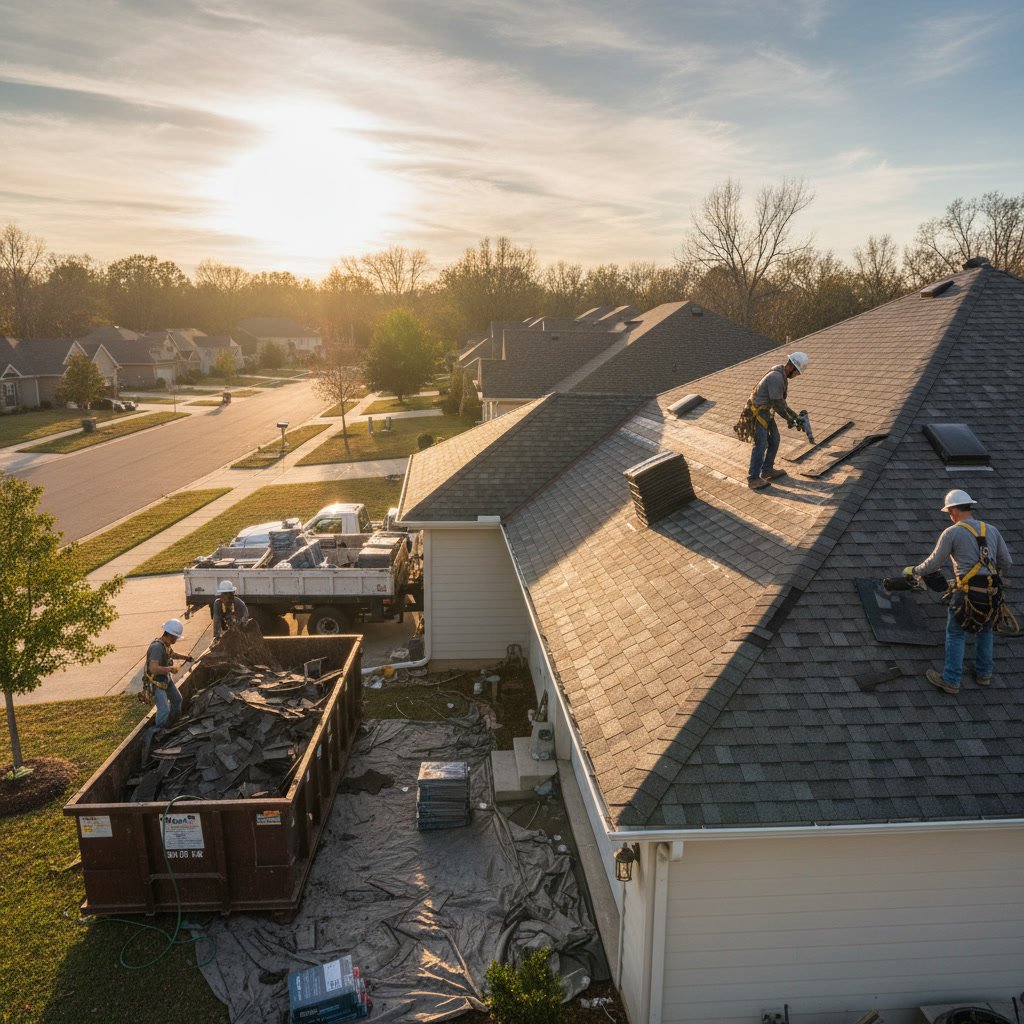
A professional roof replacement process begins with a thorough inspection and estimate, followed by material selection, complete tear-off of the old roof, installation of new underlayment and shingles or panels, and a final walkthrough with cleanup. Most residential projects take between two and five days depending on roof size, complexity, and weather conditions. Knowing what to expect at each stage helps you prepare your home and family for the work ahead.
Replacing a roof is one of the most significant home improvement projects you will ever undertake. The process involves more moving parts than most homeowners realize, and understanding the sequence can ease concerns and help you make informed decisions along the way.
Why Understanding Each Step Matters
When you know what happens during each phase of your project, you can better communicate with your contractor, spot potential issues early, and ensure nothing gets overlooked. A roof replacement is not just about swapping old shingles for new ones. It involves structural assessment, weather protection layers, proper ventilation, and precise installation techniques that determine how well your roof performs for the next 20 to 50 years.
Homeowners who understand the scope of work are also better equipped to evaluate quotes and identify contractors who cut corners. The difference between a mediocre roof and an exceptional one often comes down to steps that happen beneath the surface, long before the final shingles go down.
The Initial Inspection and Estimate
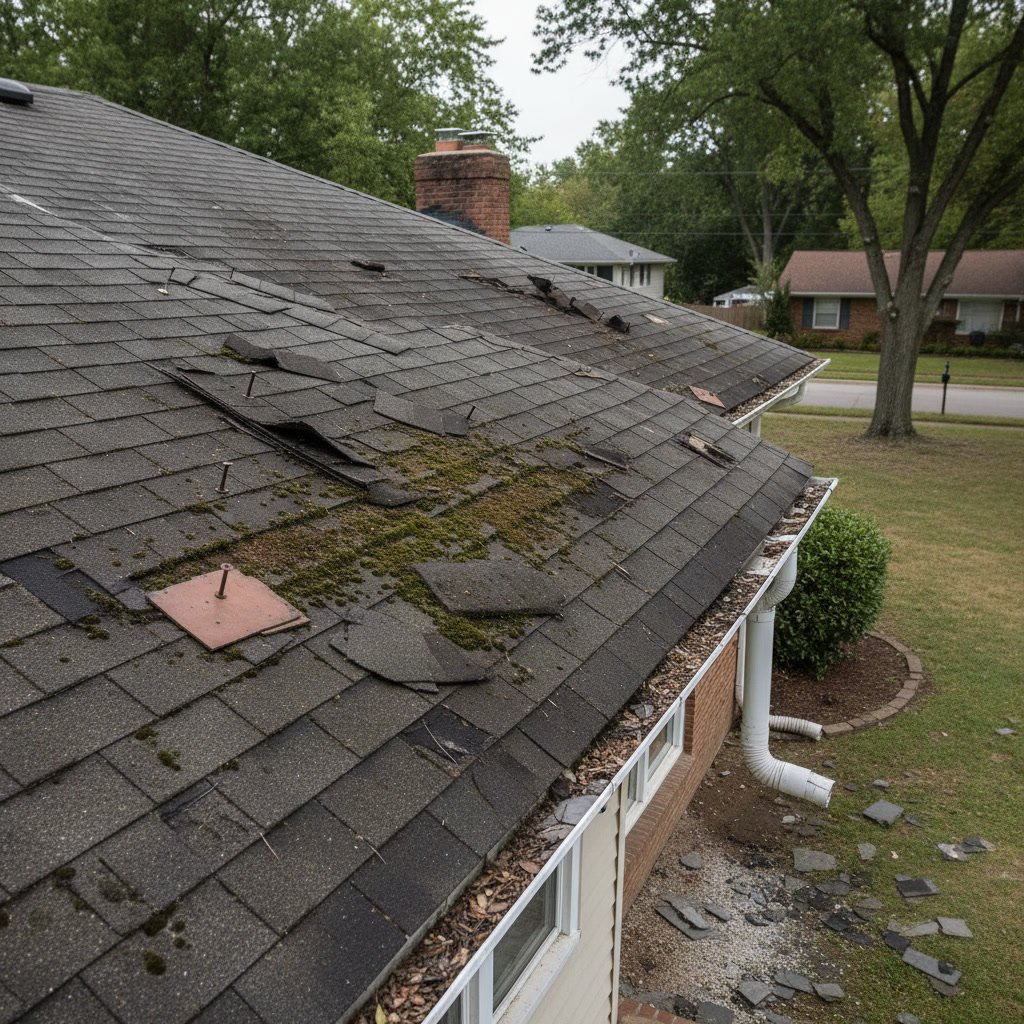
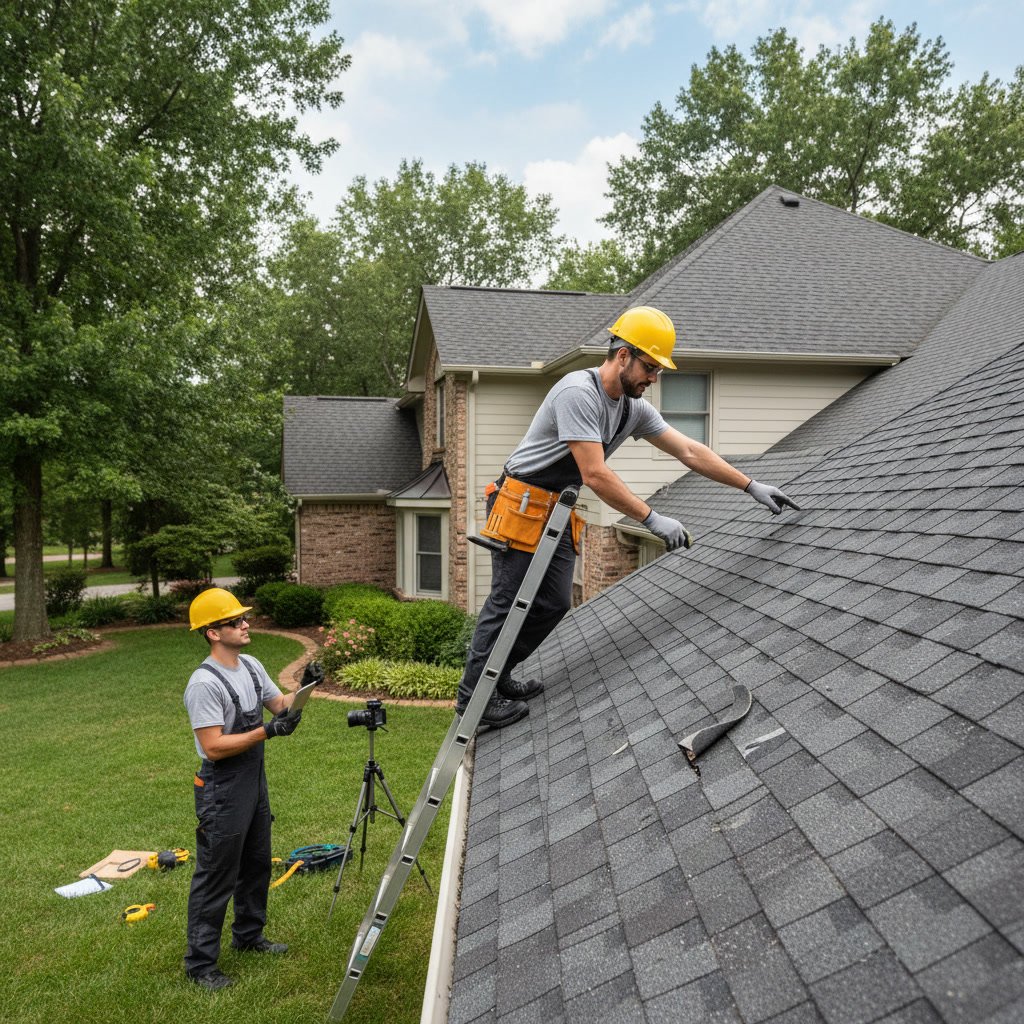
Every quality roof replacement starts with a detailed inspection. A roofing professional will climb onto your roof to assess the condition of the existing materials, check for structural damage, examine flashings around chimneys and vents, and evaluate the decking underneath. They measure the roof to calculate square footage and note the pitch, which affects both material requirements and labor complexity.
During this visit, the contractor should also inspect your attic from the inside to check for signs of leaks, inadequate ventilation, or compromised decking. These findings shape the scope of work and help identify whether you need repairs to the underlying structure before new roofing goes on. If you are unsure whether a full replacement is necessary, reviewing the key differences between repair and replacement can clarify your options.
Choosing Your Roofing Materials
Once the inspection is complete, you will select the materials for your new roof. Asphalt shingles remain the most popular choice for residential projects due to their balance of cost, durability, and appearance. Architectural shingles offer enhanced curb appeal and longer warranties compared to three-tab options.
For homeowners seeking superior longevity and energy efficiency, metal roofing is an excellent alternative. Metal roofs can last 50 years or more and reflect solar heat, reducing cooling costs during Ohio summers. Your contractor will help you weigh factors like budget, aesthetic preferences, and long-term value when making your decision.
Do not overlook underlayment and ventilation components. High-quality synthetic underlayment provides better water resistance than traditional felt paper, and proper ridge and soffit vents prevent moisture buildup that can shorten your roof’s lifespan.
Scheduling and Preparing Your Property
After you approve the estimate and sign the contract, your contractor will order materials and schedule the work. Lead times vary depending on the season and material availability, but most projects are scheduled within one to three weeks.
Before the crew arrives, you should prepare your property by moving vehicles out of the driveway, relocating patio furniture and grills, and covering items in your attic with tarps to protect them from dust. Trim back any tree branches that hang within six feet of the roof to give workers safe access. If you have pets, plan to keep them indoors or away from the work area, as the noise and activity can be stressful for animals.
Day One: Tear-Off and Decking Inspection in Kettering
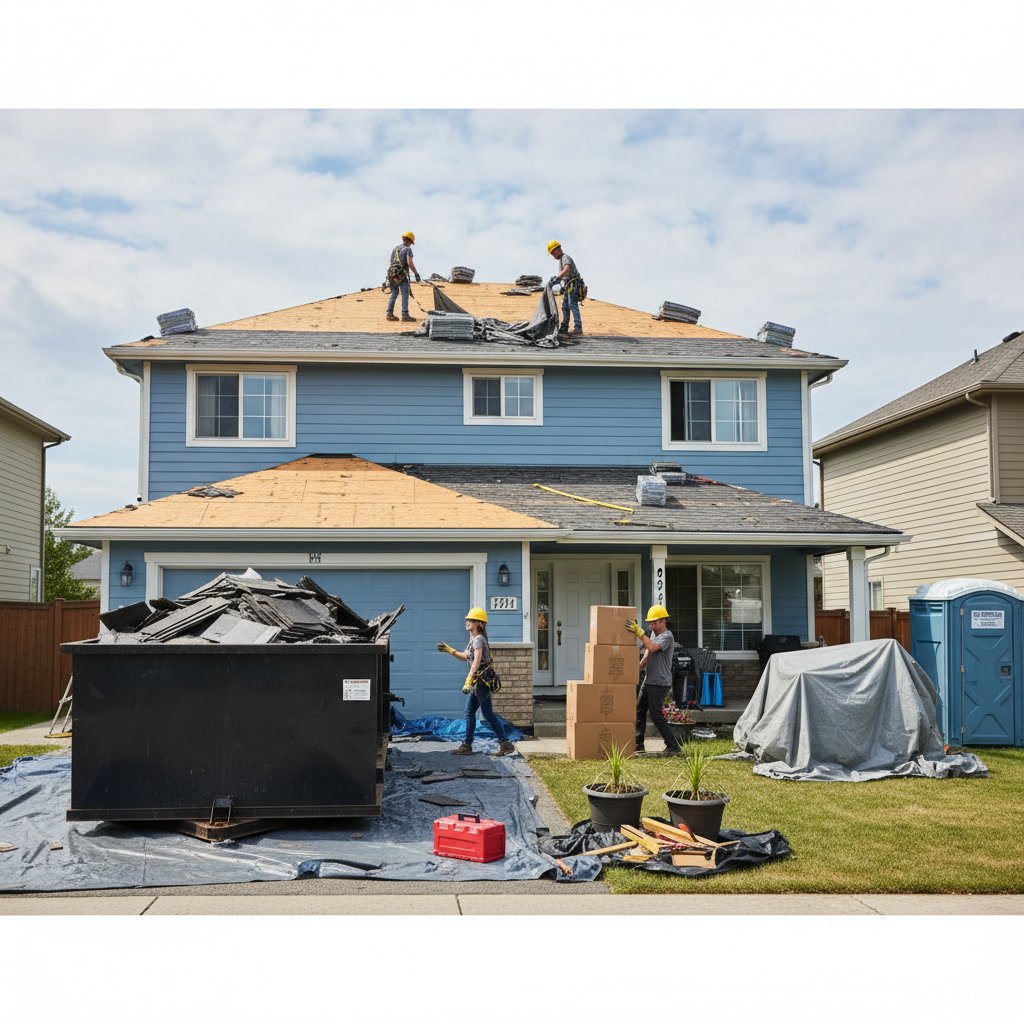
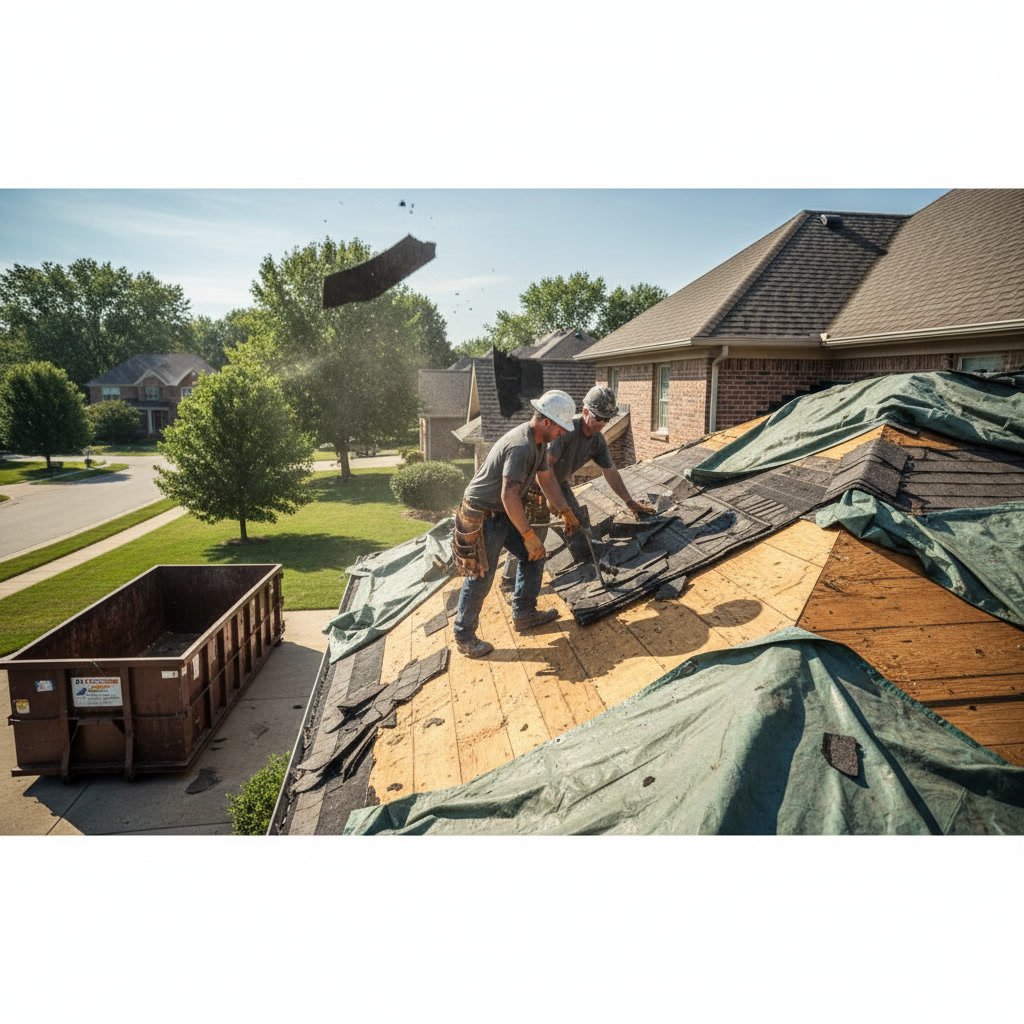
The first day of work begins early, often around 7:00 or 8:00 AM. The crew will set up safety equipment, including scaffolding or roof jacks, and lay tarps to catch debris. They start by removing the old shingles, underlayment, and flashing. Tear-off generates significant noise and vibration, so expect a loud morning if you are home during this phase.
As the old materials come off, the team inspects the roof decking for rot, water damage, or structural issues. Any compromised plywood or OSB panels are replaced to ensure a solid foundation. This step is critical because no roofing system performs well on top of damaged decking. Skipping this inspection or deferring necessary repairs is one of the most common ways contractors cut costs at the expense of quality.
In Kettering and surrounding communities, Ohio weather patterns mean decking damage from ice dams and wind-driven rain is not uncommon, especially on older homes.
Installing Underlayment and Drip Edge
Once the decking is sound, the crew installs drip edge along the eaves and rakes. Drip edge is a metal strip that directs water away from the fascia and into the gutters, protecting the wood trim from rot. Next comes the underlayment, which acts as a waterproof barrier between the decking and the shingles.
In regions with harsh winters like Ohio, many contractors install ice and water shield along the eaves and in valleys. This self-adhering membrane prevents water from backing up under shingles during freeze-thaw cycles. Proper overlap and sealing of underlayment seams are essential to maintain a watertight envelope.
Shingle or Metal Panel Installation
With the underlayment in place, the crew begins installing the finish roofing material. For asphalt shingles, this means starting at the eaves and working upward in overlapping courses. Each shingle is secured with four to six nails depending on wind rating requirements and manufacturer specifications. Proper nailing location and depth matter more than most people realize. Overdriven nails can tear the shingle, while underdriven nails allow wind to lift the tabs.
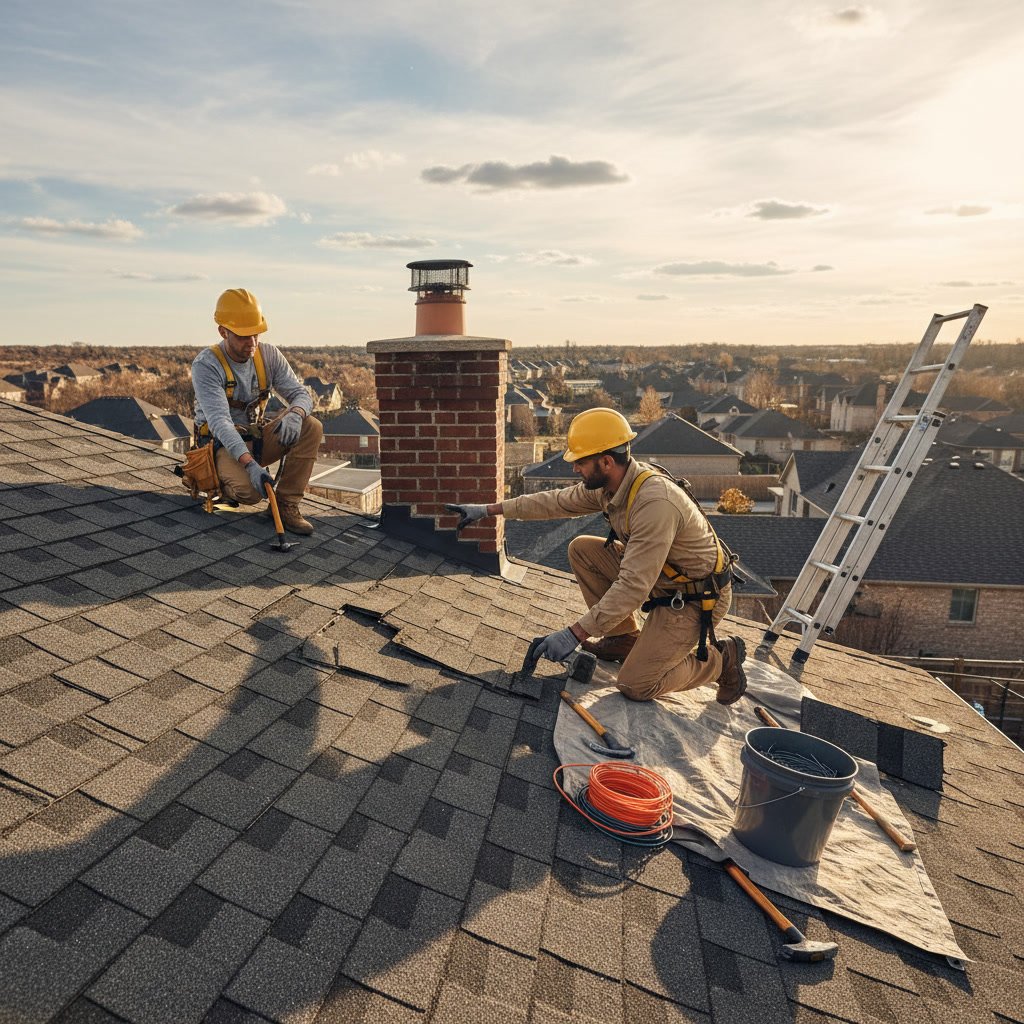
Ridge cap shingles are installed last, providing a finished appearance and sealing the peak of the roof. Valleys and flashings around chimneys, skylights, and vent pipes require special attention to prevent leaks. Quality contractors use step flashing and counter flashing techniques rather than relying solely on caulk, which degrades over time.
For metal roofs, panels are fastened with concealed clips or exposed screws with rubber washers, depending on the system. Standing seam metal roofs offer the best water shedding performance and a clean, modern look.
Ventilation and Flashing Details
Proper attic ventilation extends the life of your roof by regulating temperature and moisture levels. Intake vents at the soffits allow cool air to enter, while exhaust vents at the ridge or gables let hot, moist air escape. Balanced ventilation prevents ice dams in winter and reduces heat buildup in summer, which can prematurely age shingles.
Flashings are the unsung heroes of a durable roof. These metal pieces seal transitions and penetrations where water is most likely to infiltrate. Chimney flashing, pipe boots, and valley flashings must be installed correctly and integrated with the underlayment and shingles. Shortcuts in flashing installation are a leading cause of leaks within the first few years of a new roof.
Gutter Coordination and Final Touches
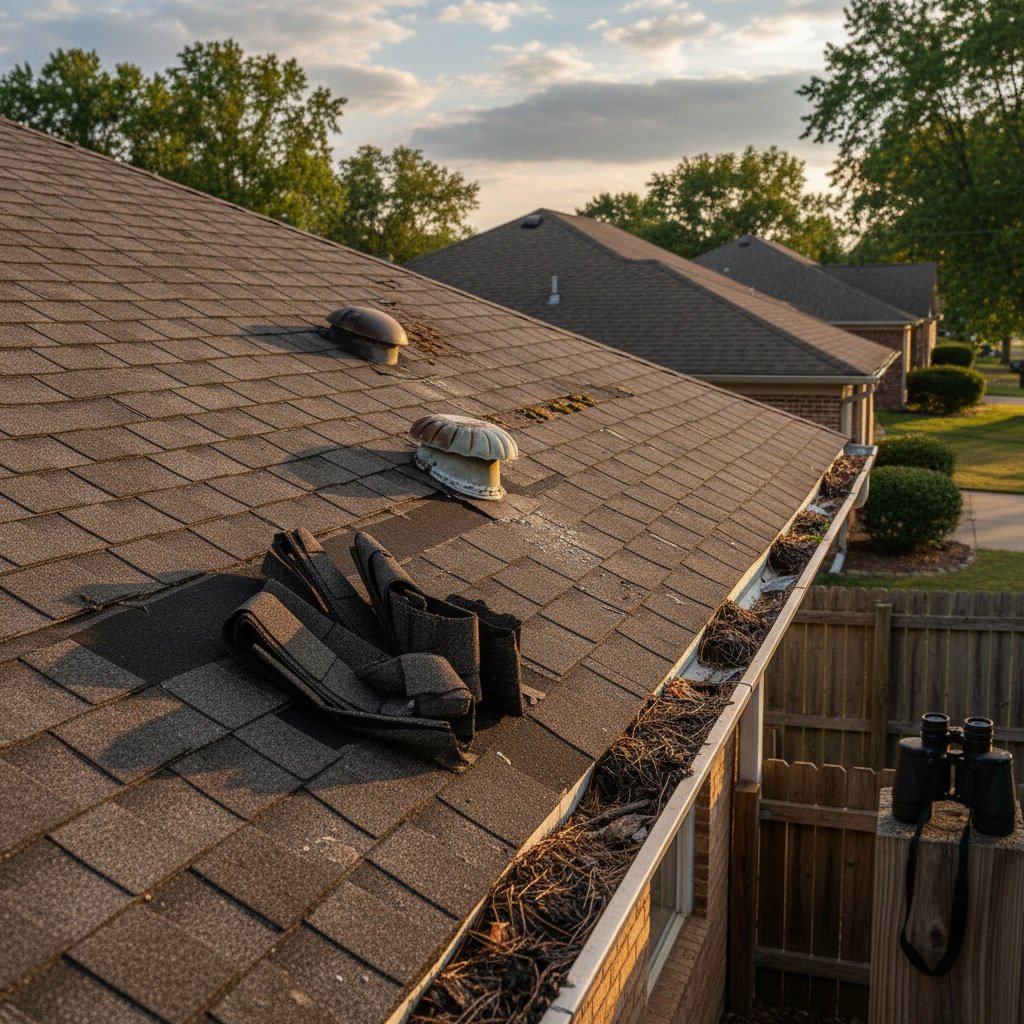
If your gutters are old, damaged, or incompatible with the new drip edge, consider replacing them at the same time. New gutter installation coordinated with your roof replacement ensures seamless water management and avoids the need to remove and reinstall gutters later.
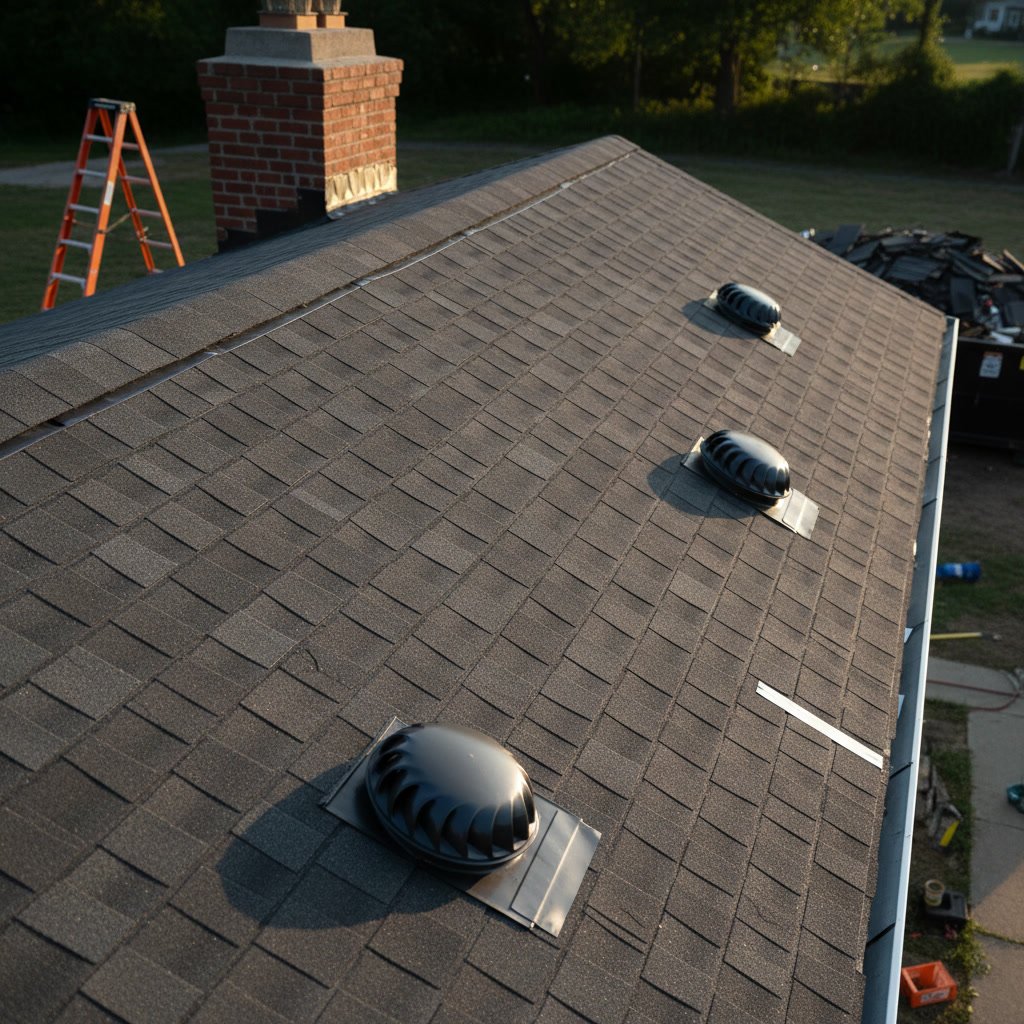
The crew will also install or replace any roof-mounted accessories like attic fans, turbine vents, or satellite dish mounts. Final touches include sealing exposed nail heads, applying caulk to flashing seams, and ensuring all vents are properly secured.
Cleanup and Final Walkthrough
A professional crew treats cleanup as seriously as installation. They use magnetic rollers to pick up stray nails and metal debris from your yard and driveway, haul away all old materials, and leave your property as clean as they found it. The project manager will walk the roof and property with you to address any questions and confirm the work meets your expectations.
You should receive documentation including warranty information for both materials and workmanship, photos of the completed project, and care instructions. Ask about recommended maintenance schedules to keep your investment in top condition for years to come.
Protecting Your Investment for Decades
A professionally installed roof should provide decades of reliable protection with minimal maintenance. Annual inspections, prompt attention to minor issues, and keeping gutters clear are the keys to maximizing your roof’s lifespan. Understanding the roof replacement process from start to finish helps you recognize quality work and feel confident in the investment you have made.
Every home and every roof is unique, but the fundamental steps remain consistent. Whether you are planning a residential project or exploring options for a business property, knowing what happens at each stage empowers you to ask the right questions and partner with a contractor who values excellence as much as you do.
Eco Roofing brings years of experience to every project across the Dayton area, combining skilled craftsmanship with transparent communication and a commitment to doing the job right. If your home needs a new roof or you want an expert assessment of your current system, reach out for a free estimate and discover the difference that professionalism and integrity make. Call +19378301004 or visit our contact page to get started today.